I did a post on stencils and various ideas back in March but didn’t really have an opportunity to use my beautiful damask stencil* by Stencil Warehouse until now.
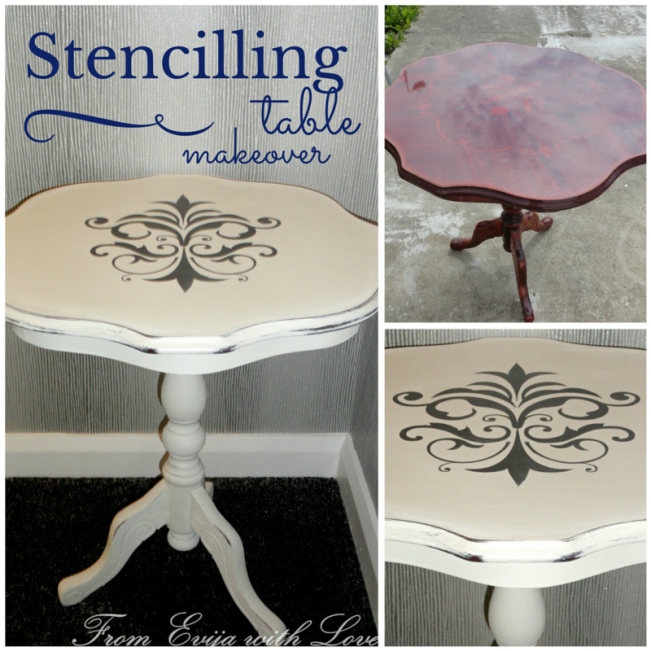
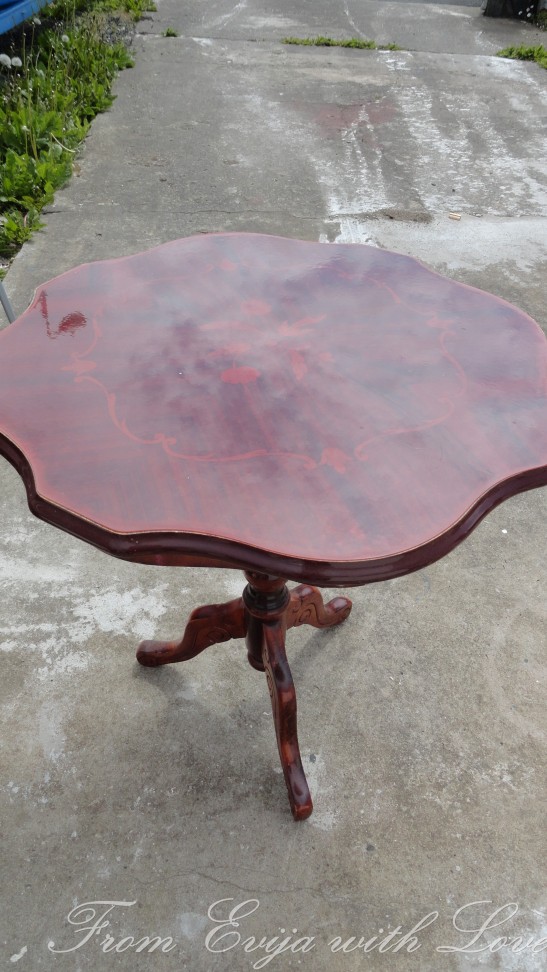
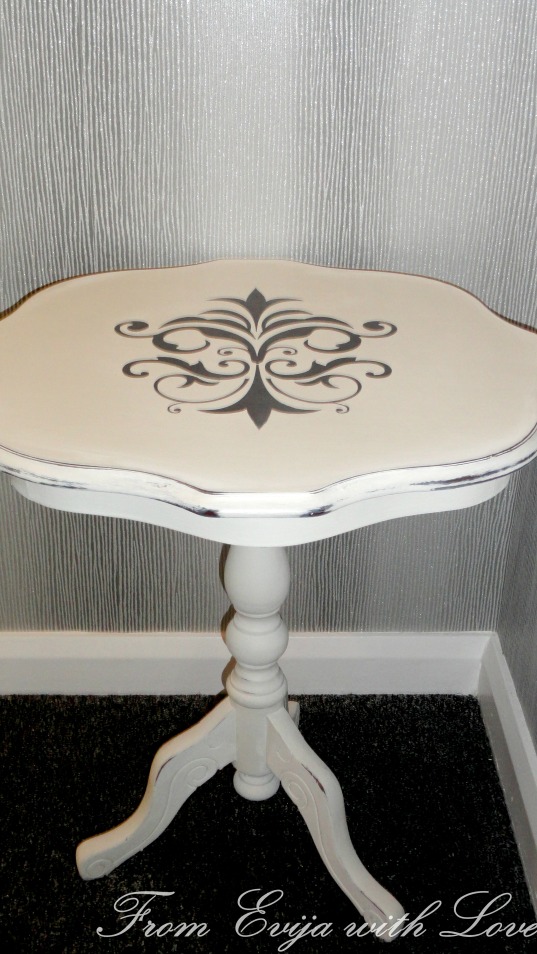
I got this little table and we had it in the hallway for a few months now. As the house we are currently living nowhas just been decorated and the hallway is now in grey, silver and white tones I thought I could paint the table to match the colour scheme and at the same time use my stencil*!
I thought I could do a layered technique on this table with dark colour at the base and paint the table white, then sand over to let the base colour come through.
I got some Rust Oleum furniture paint in Graphite and started my work.

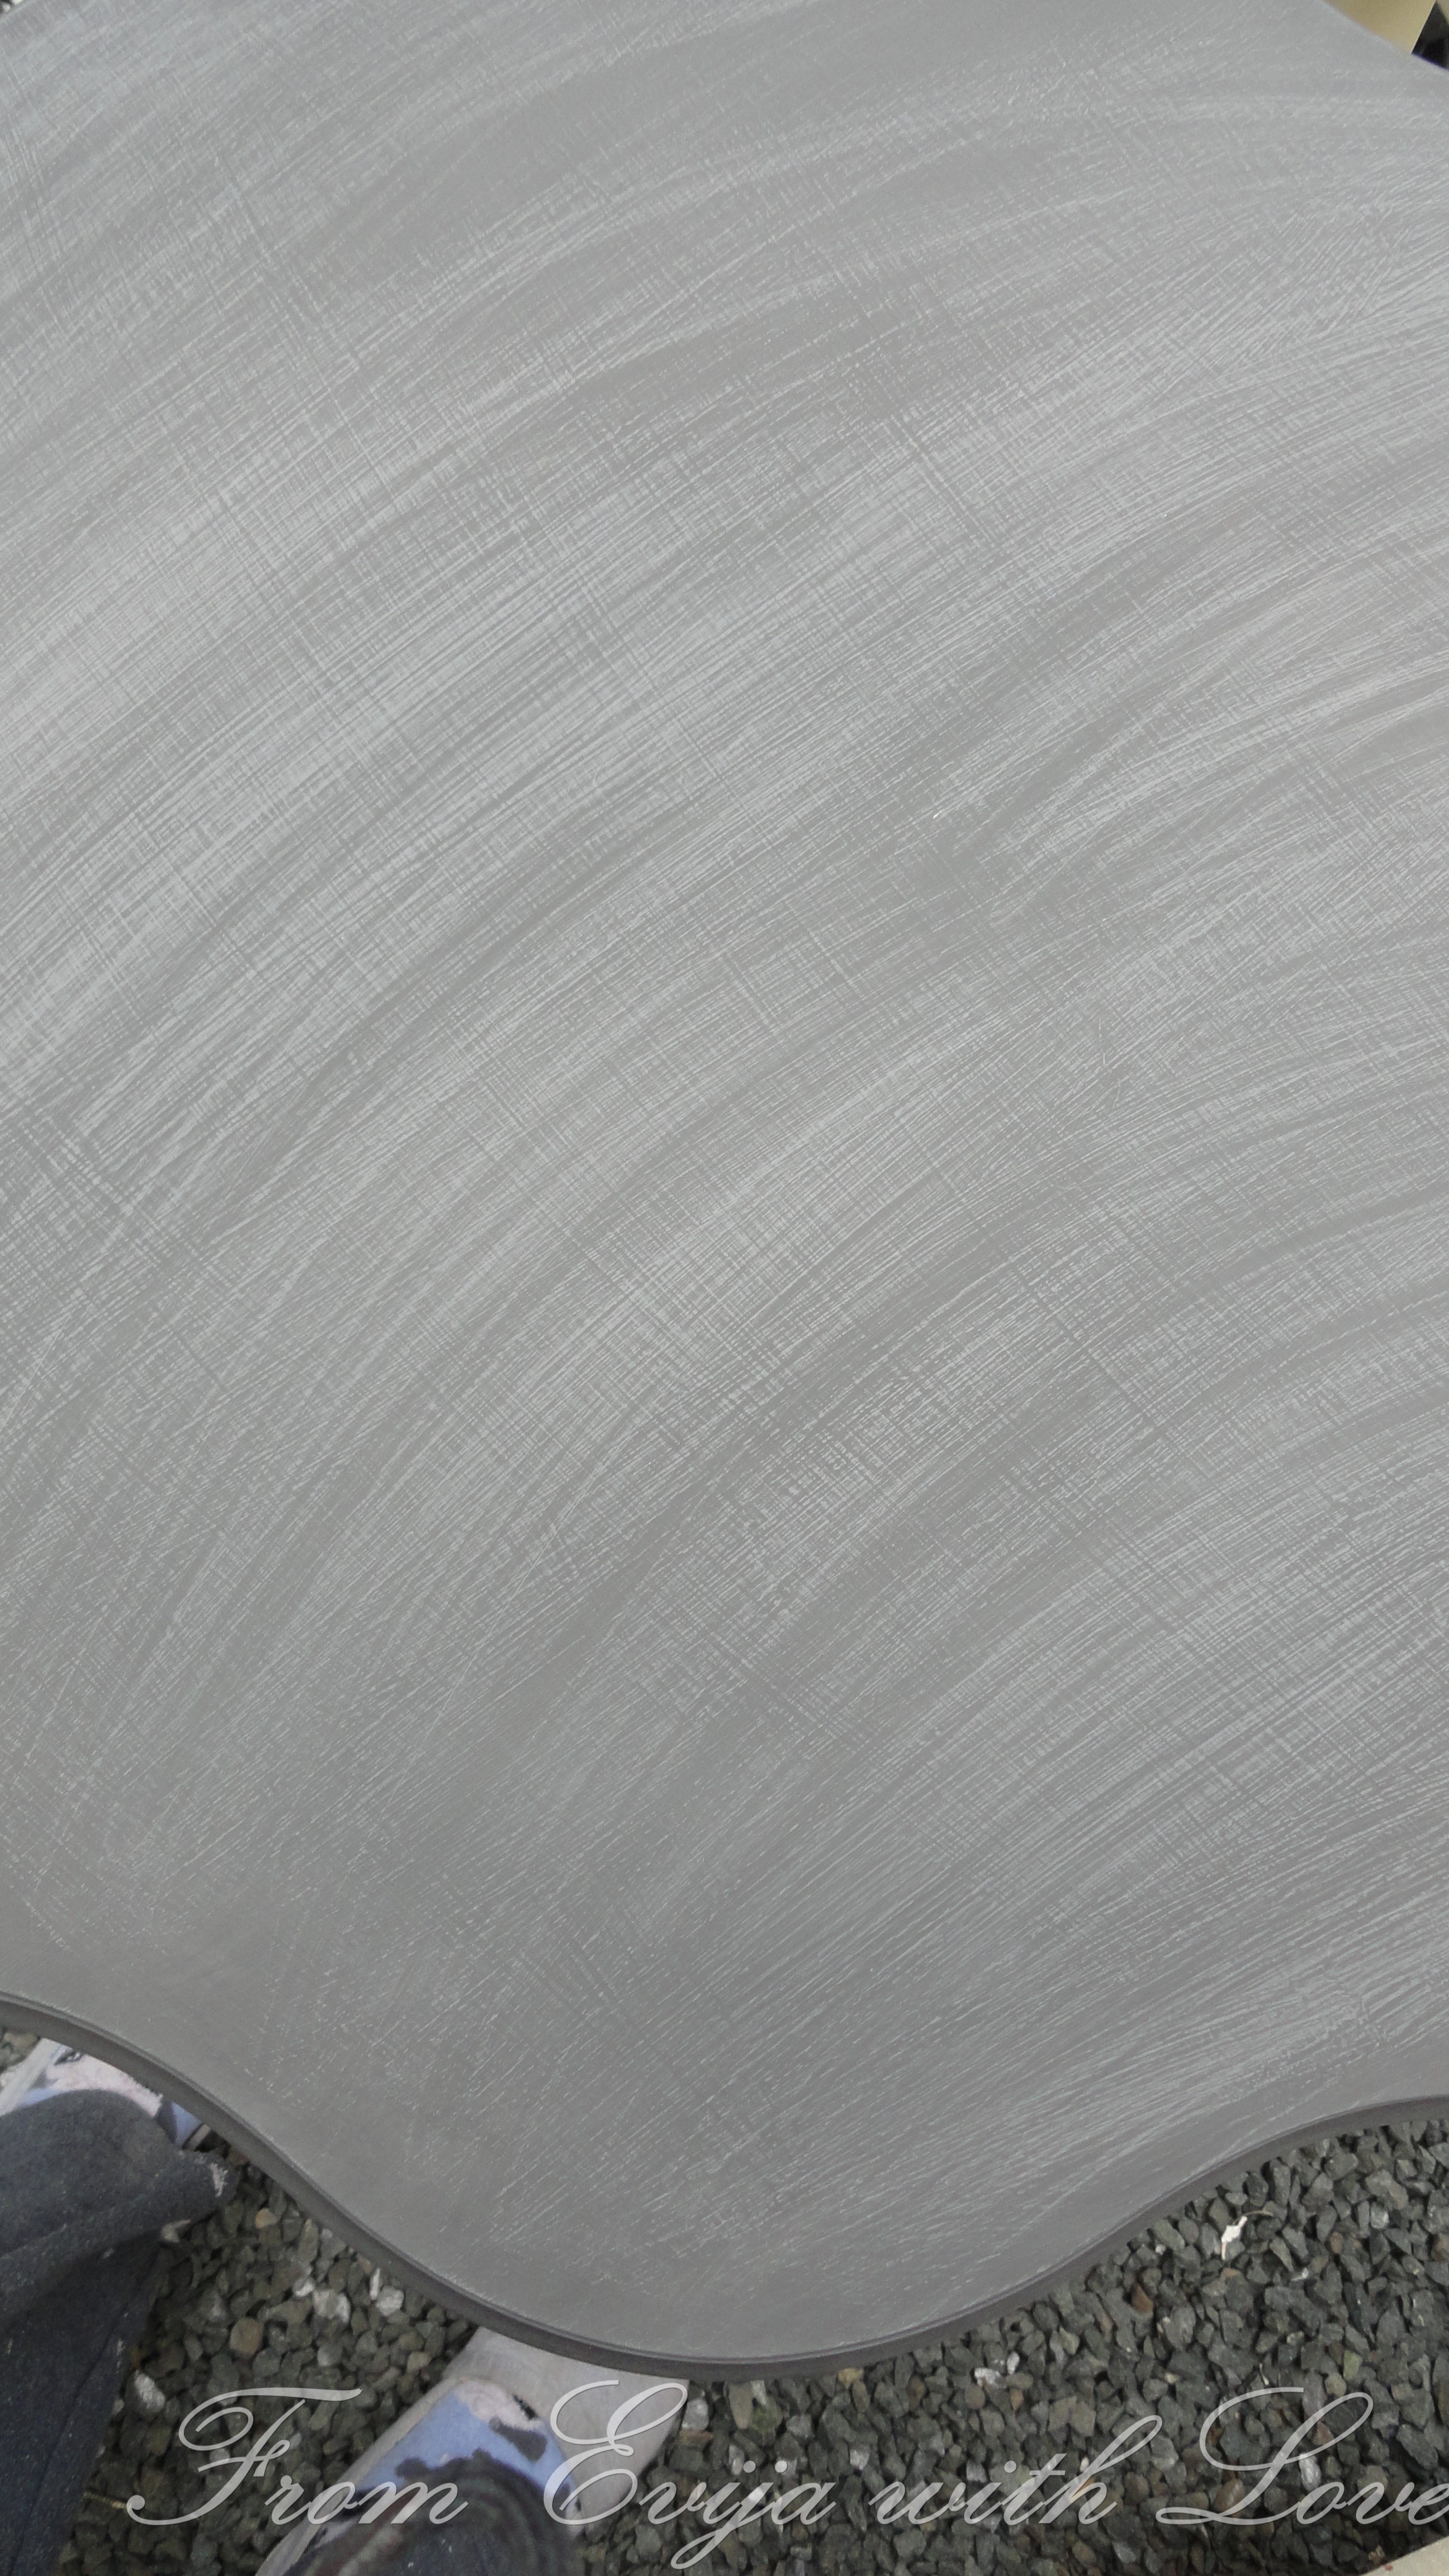
I painted the base with the Rust Oleum and let it dry.
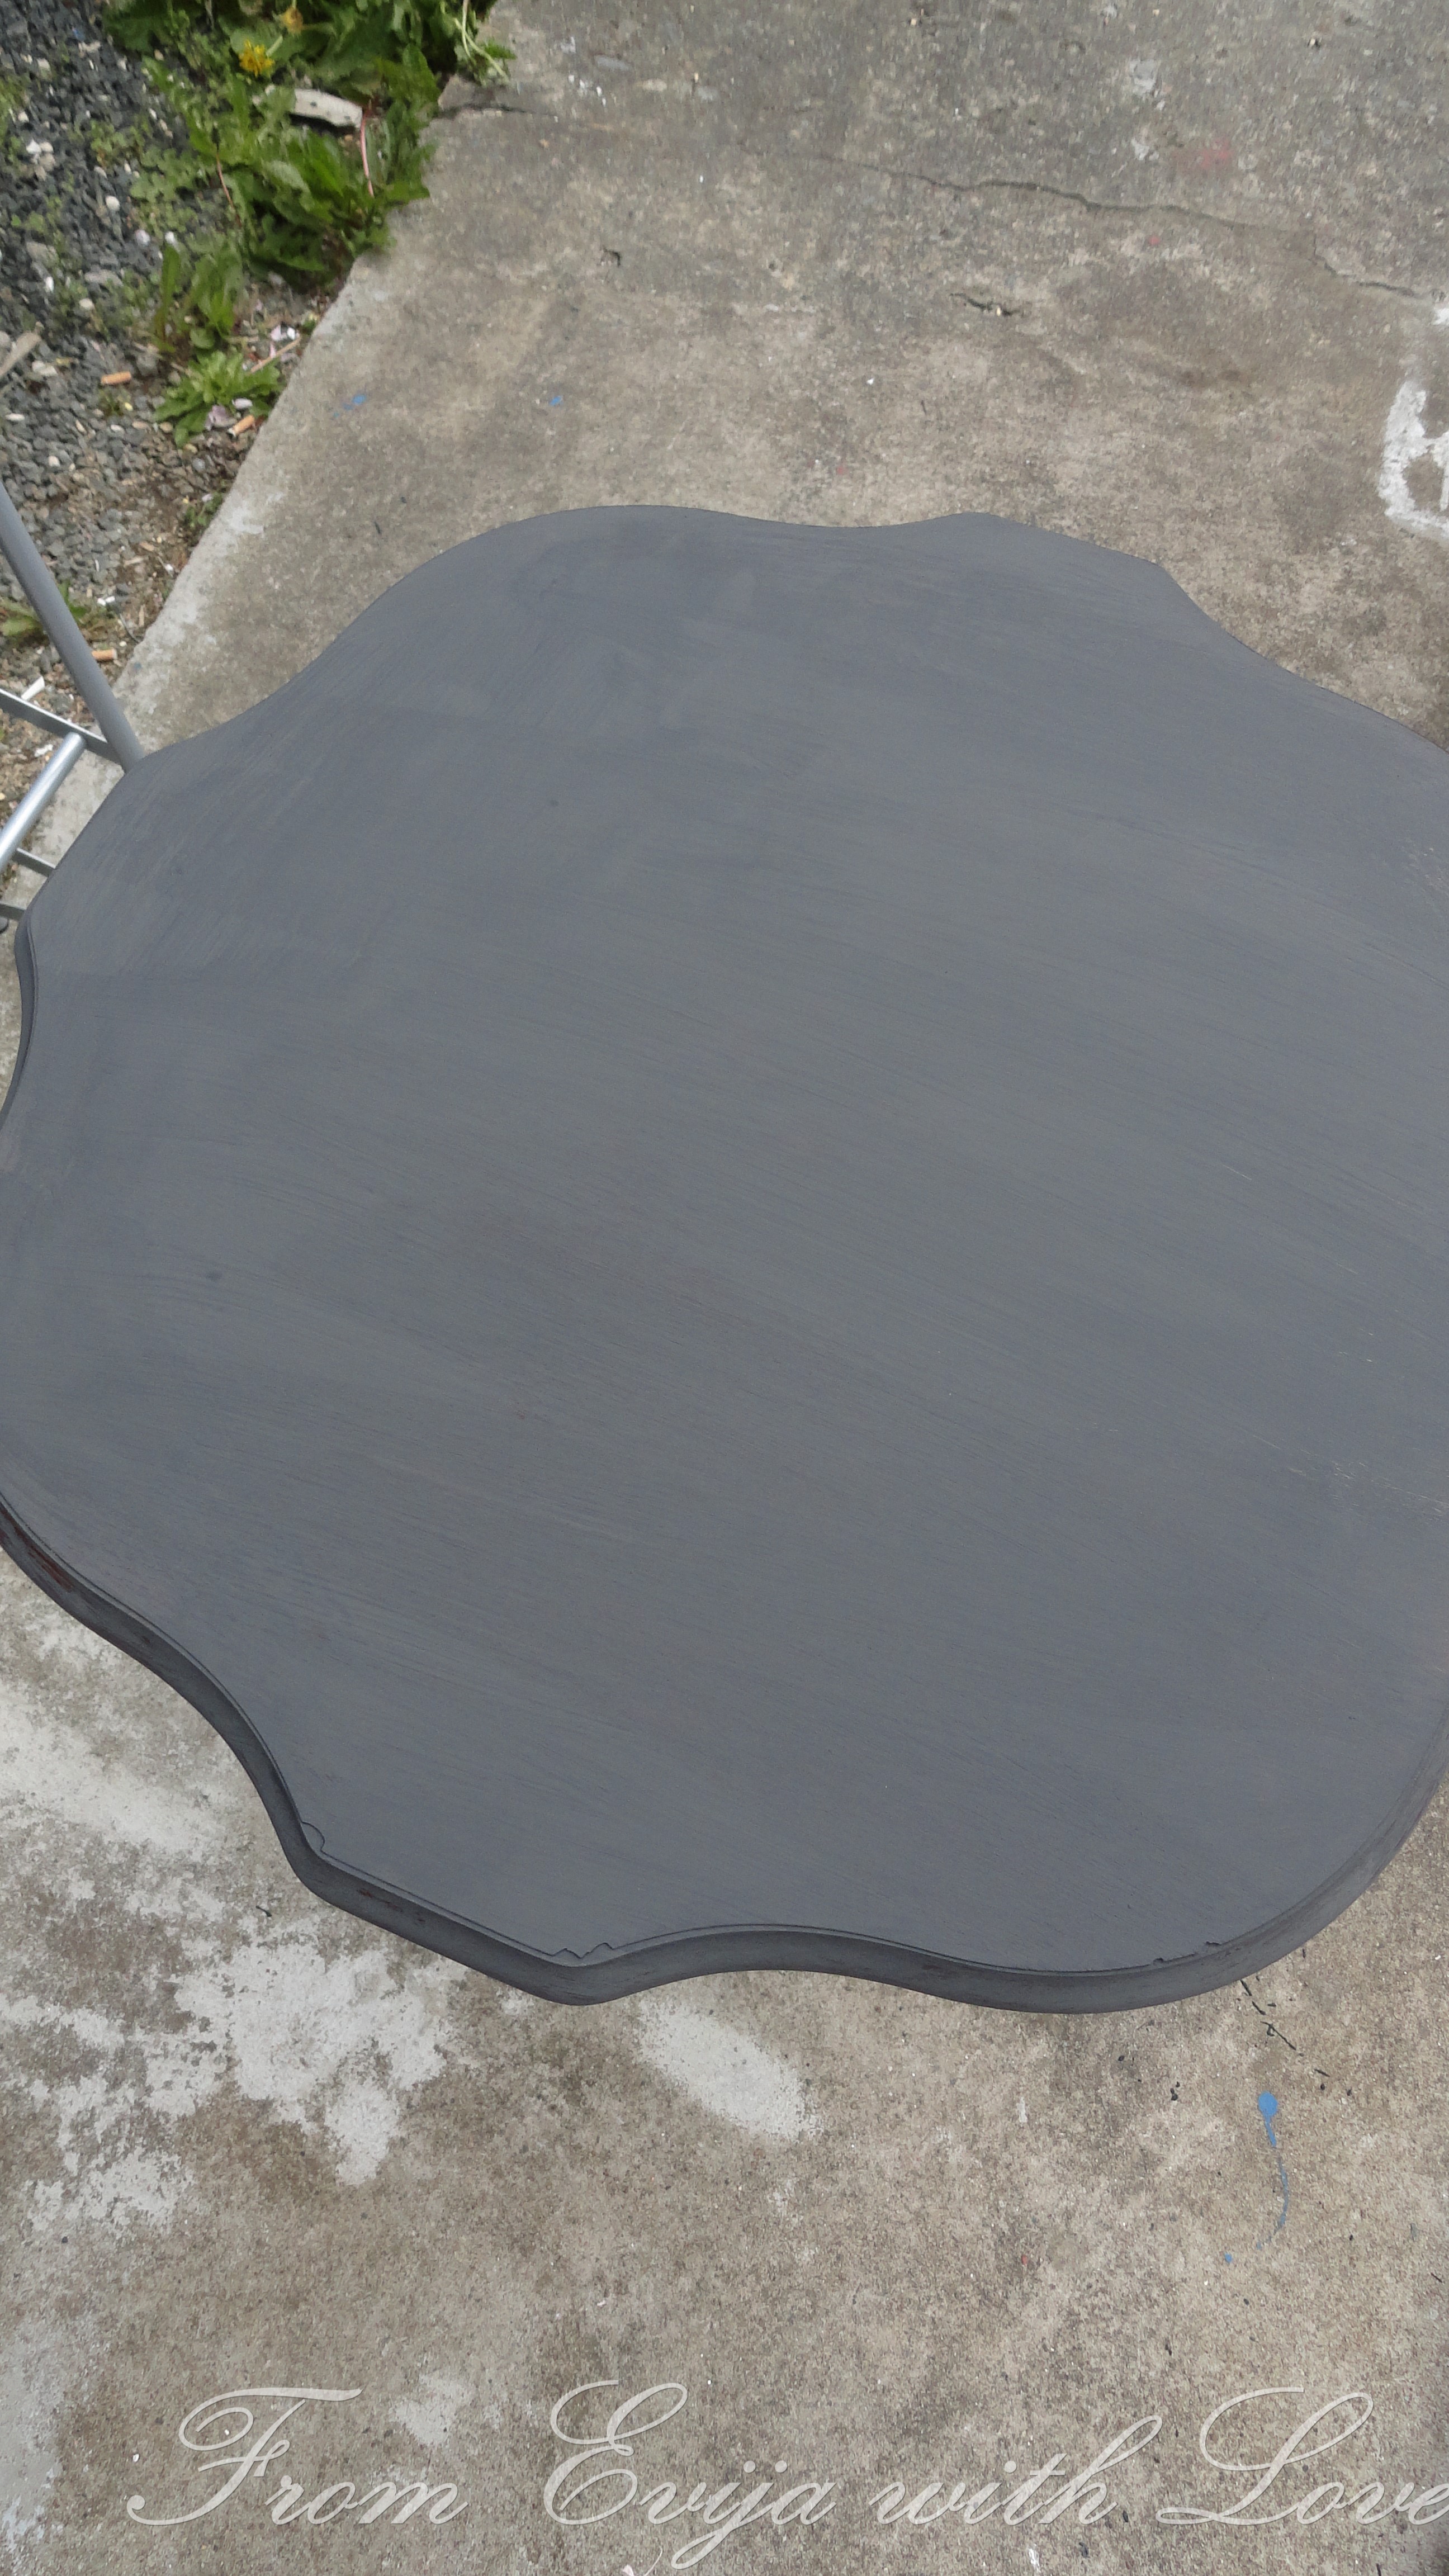
The base colour was done. Do not wax, but leave it chalky.

Sand slightly over the base coat and clean it, make sure there is no dust.
Before you put the top coat, make sure the base coat is completely dry or otherwise the two paints will mix and your white will become grey. Also don’t use the paint that is too watered down as this again will cause the base coat to mix with the top coat.
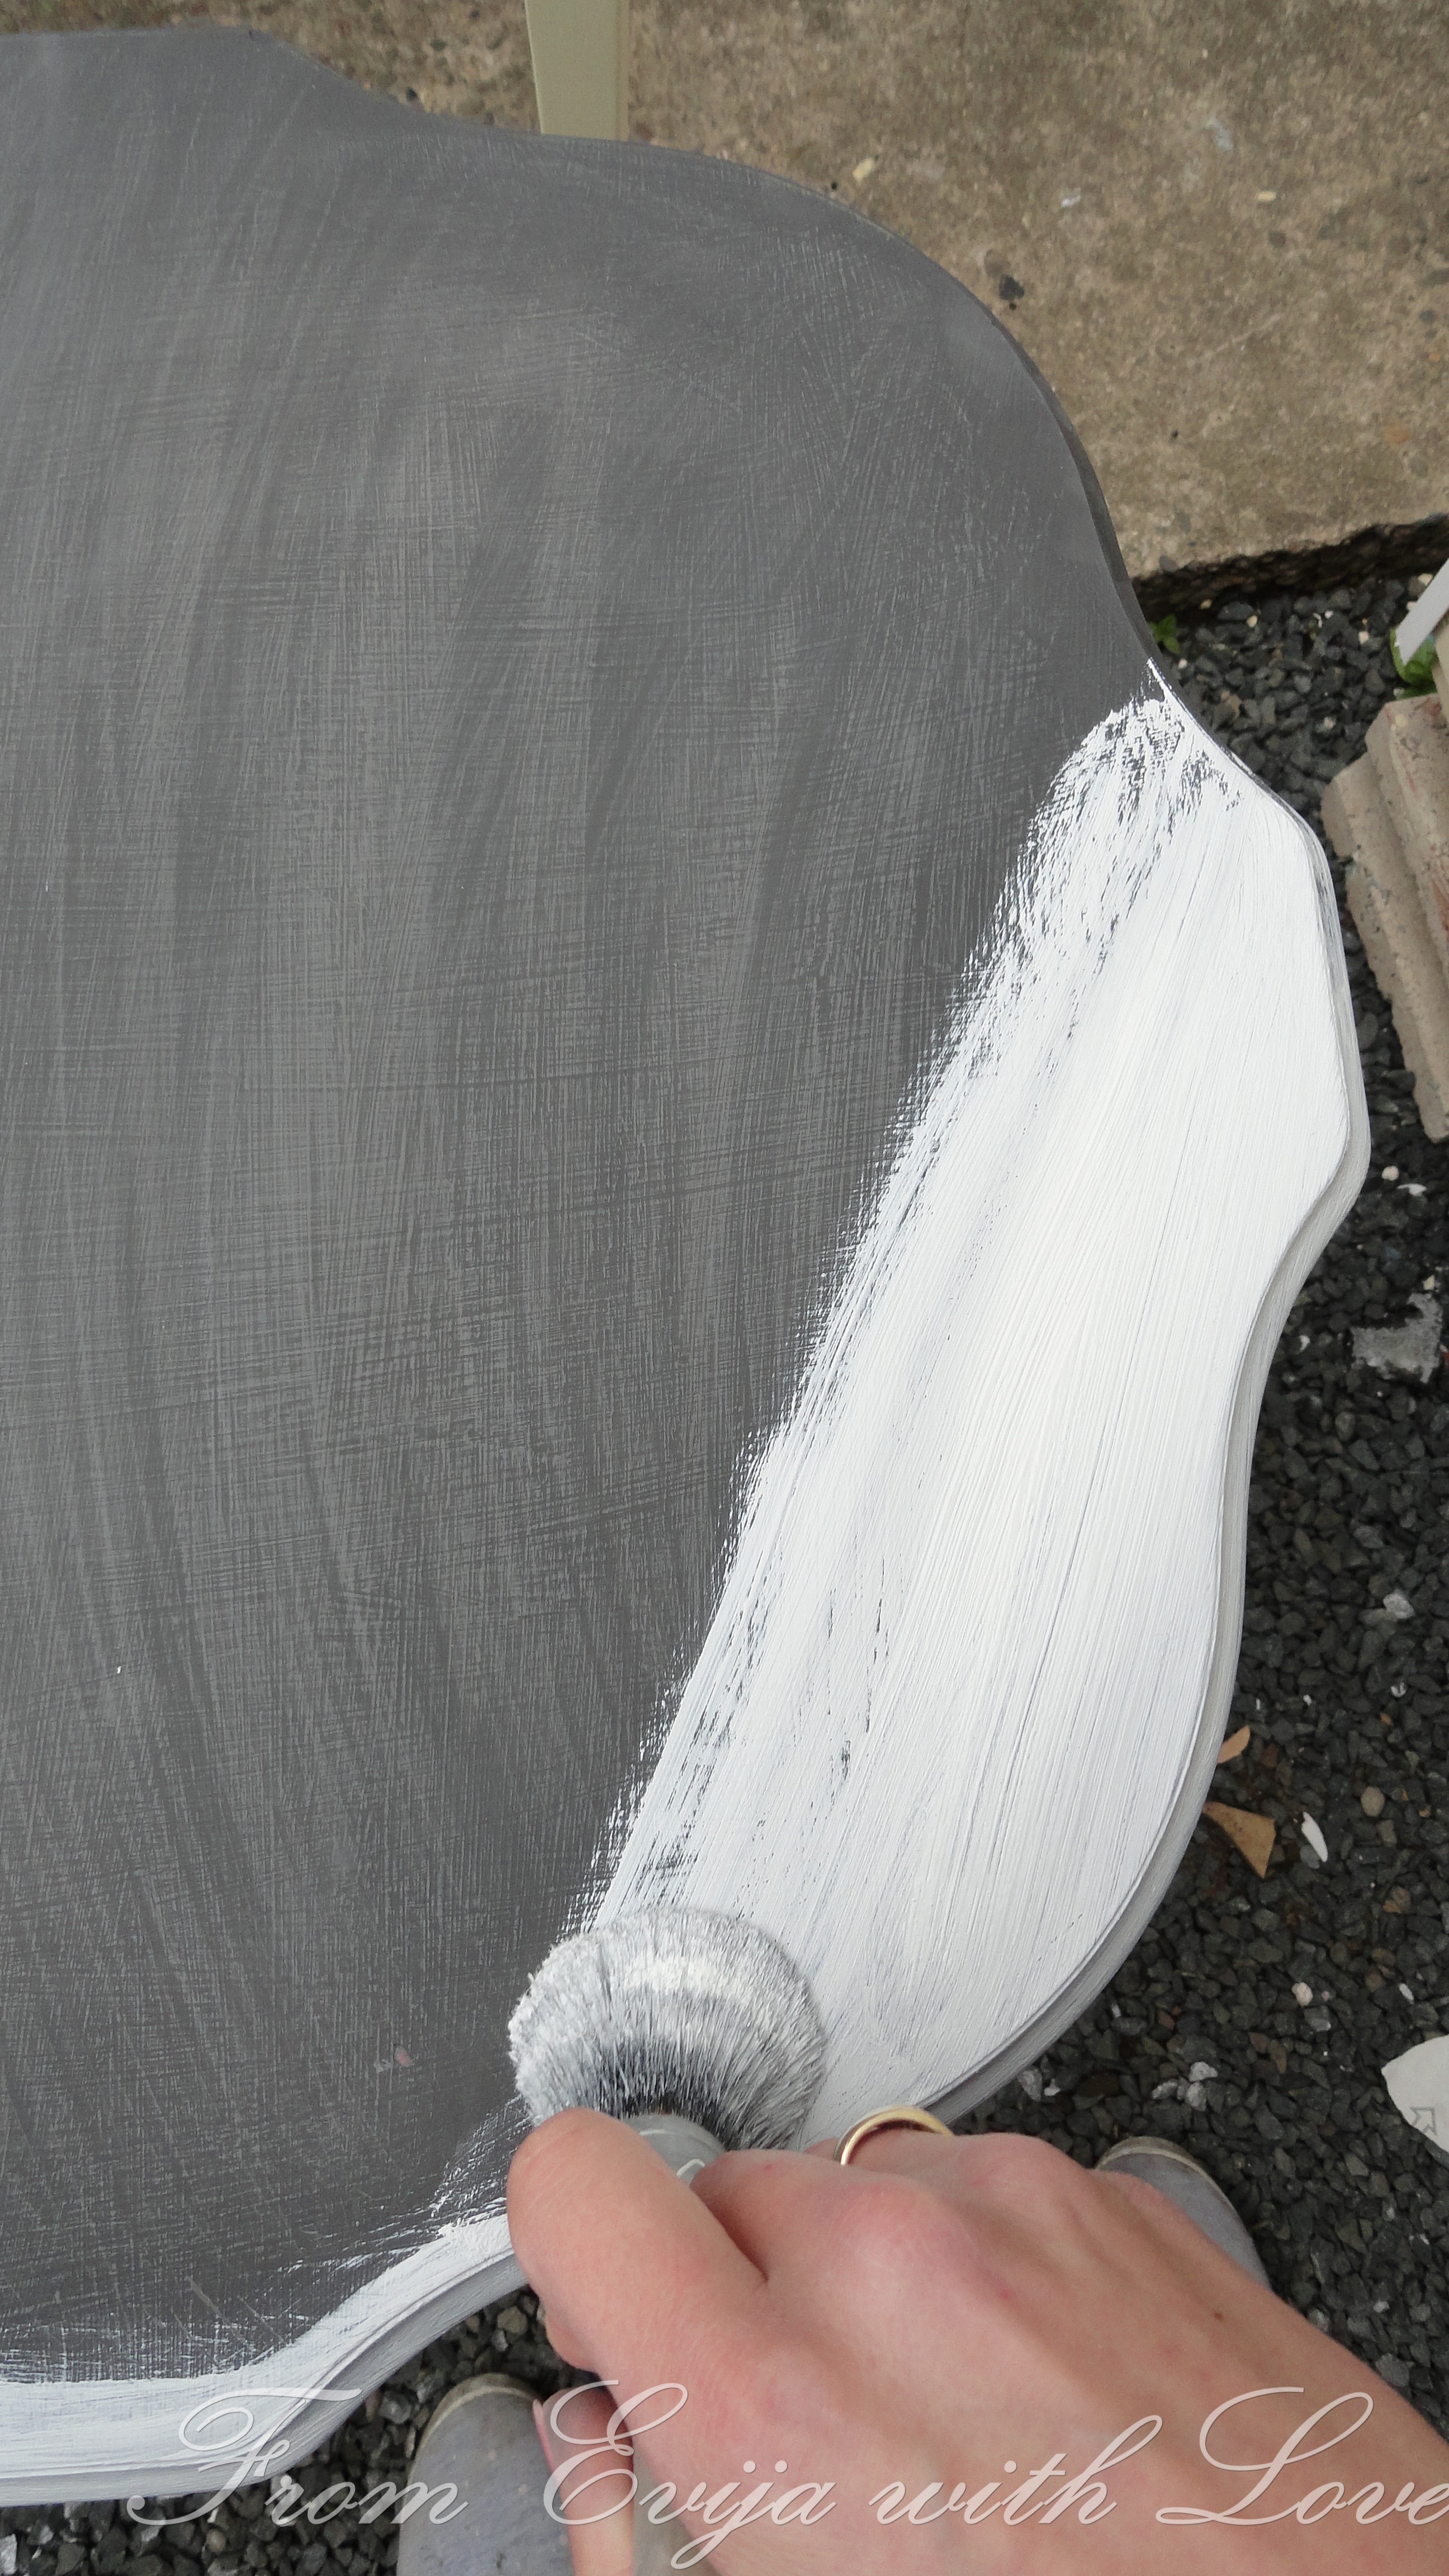
The base coat was shining through after the first coat, I didn’t really want it to be seen as much so I put another coat on, sanding slightly in between. Then it was time to try the stencil* out.
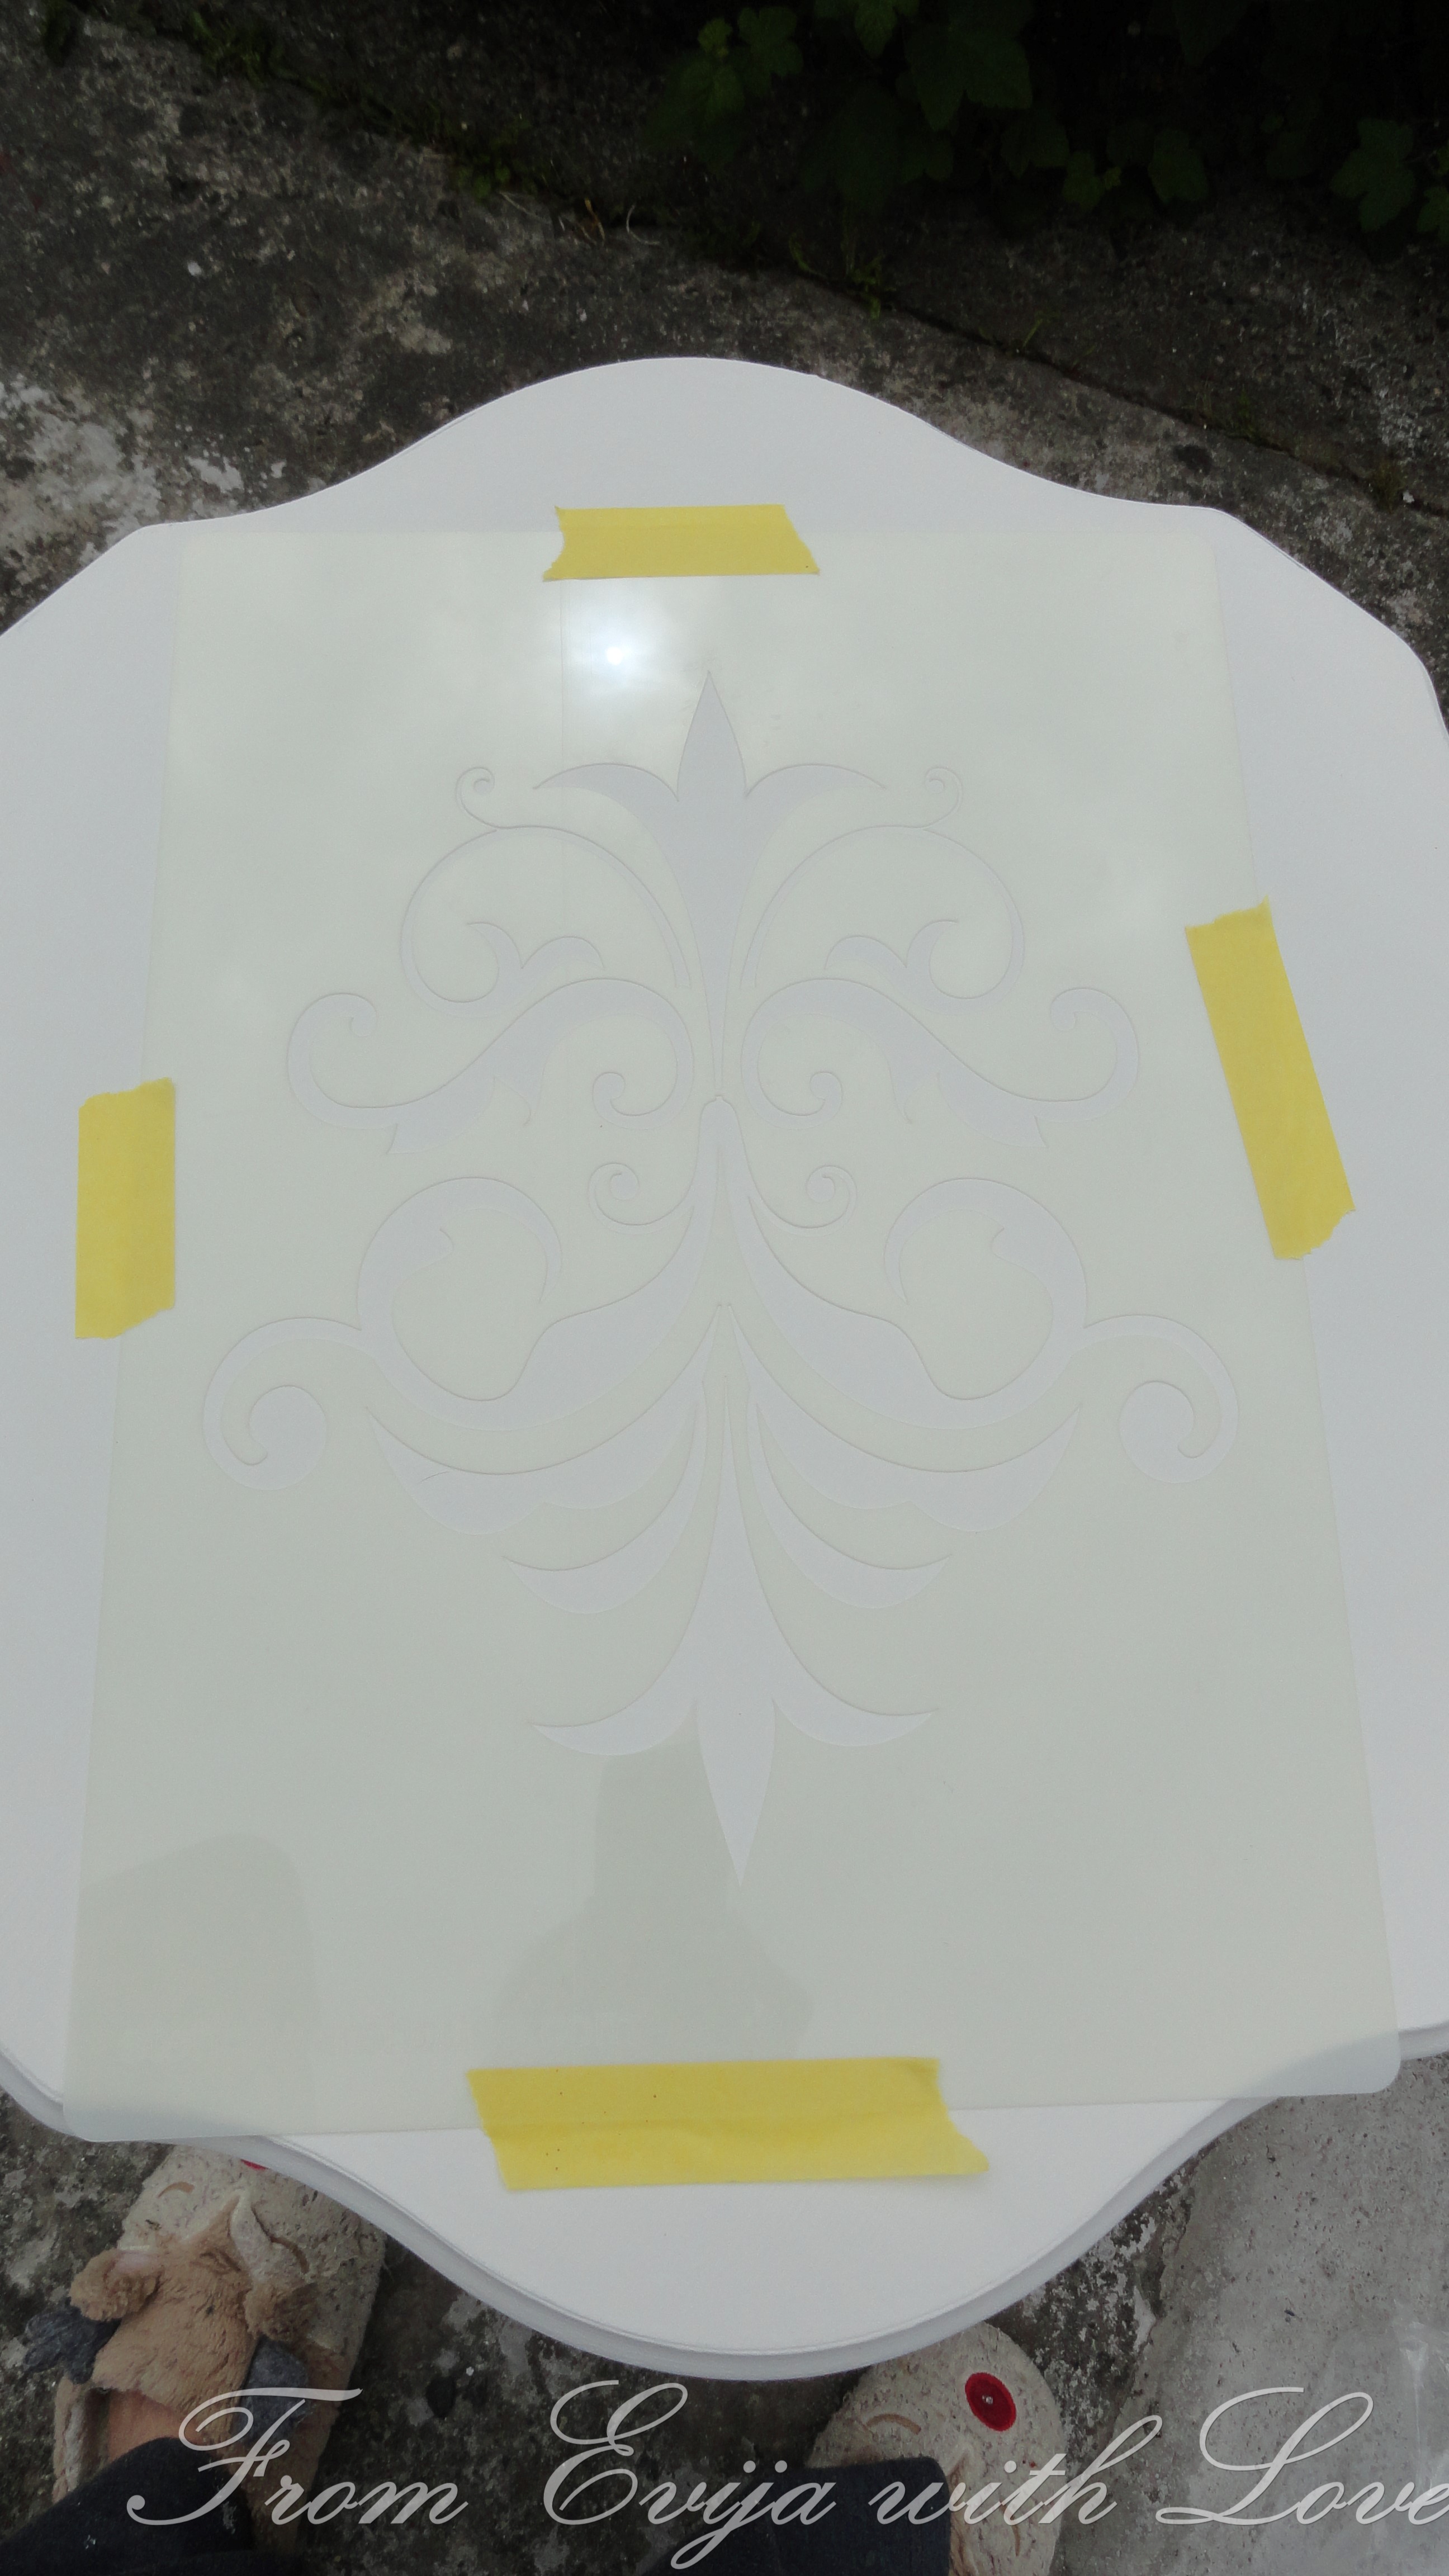

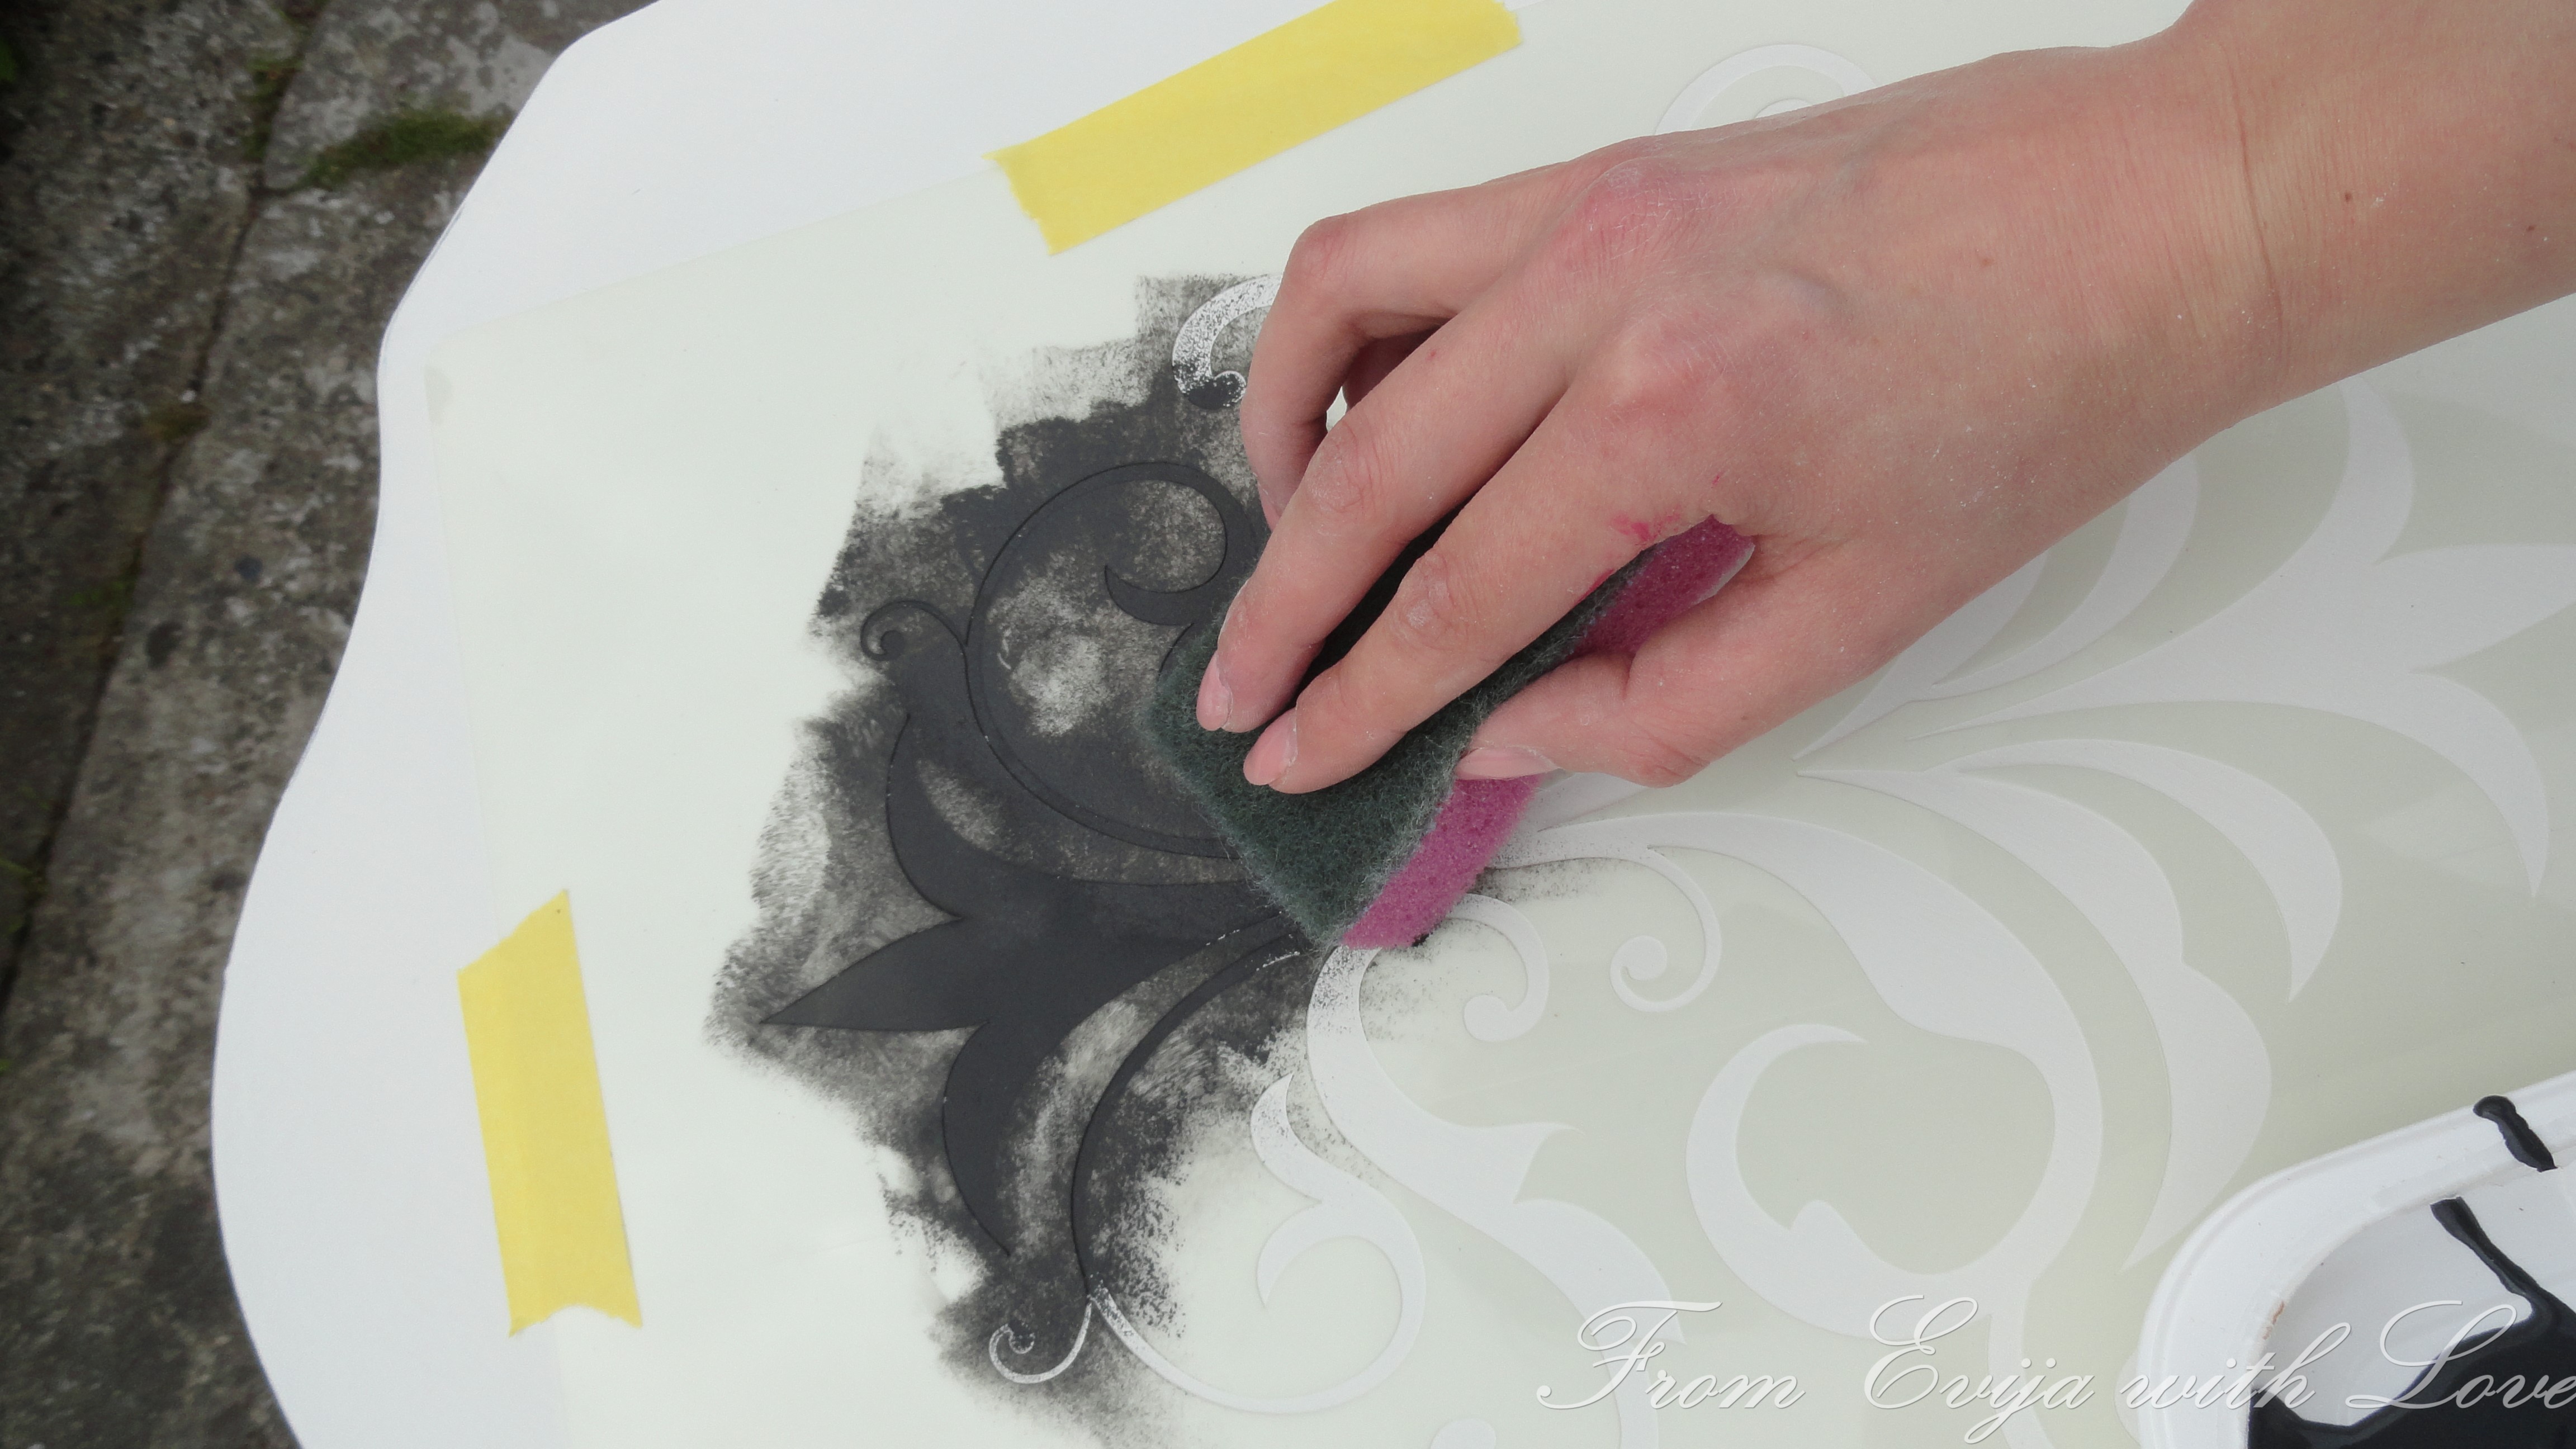
I put the stencil* in the centre and taped it so it wouldn’t move. [Excuse the Rudolph slippers! 🙂 ]
I put a little bit of paint in an empty plastic tray and used a sponge to dab the paint on the table.
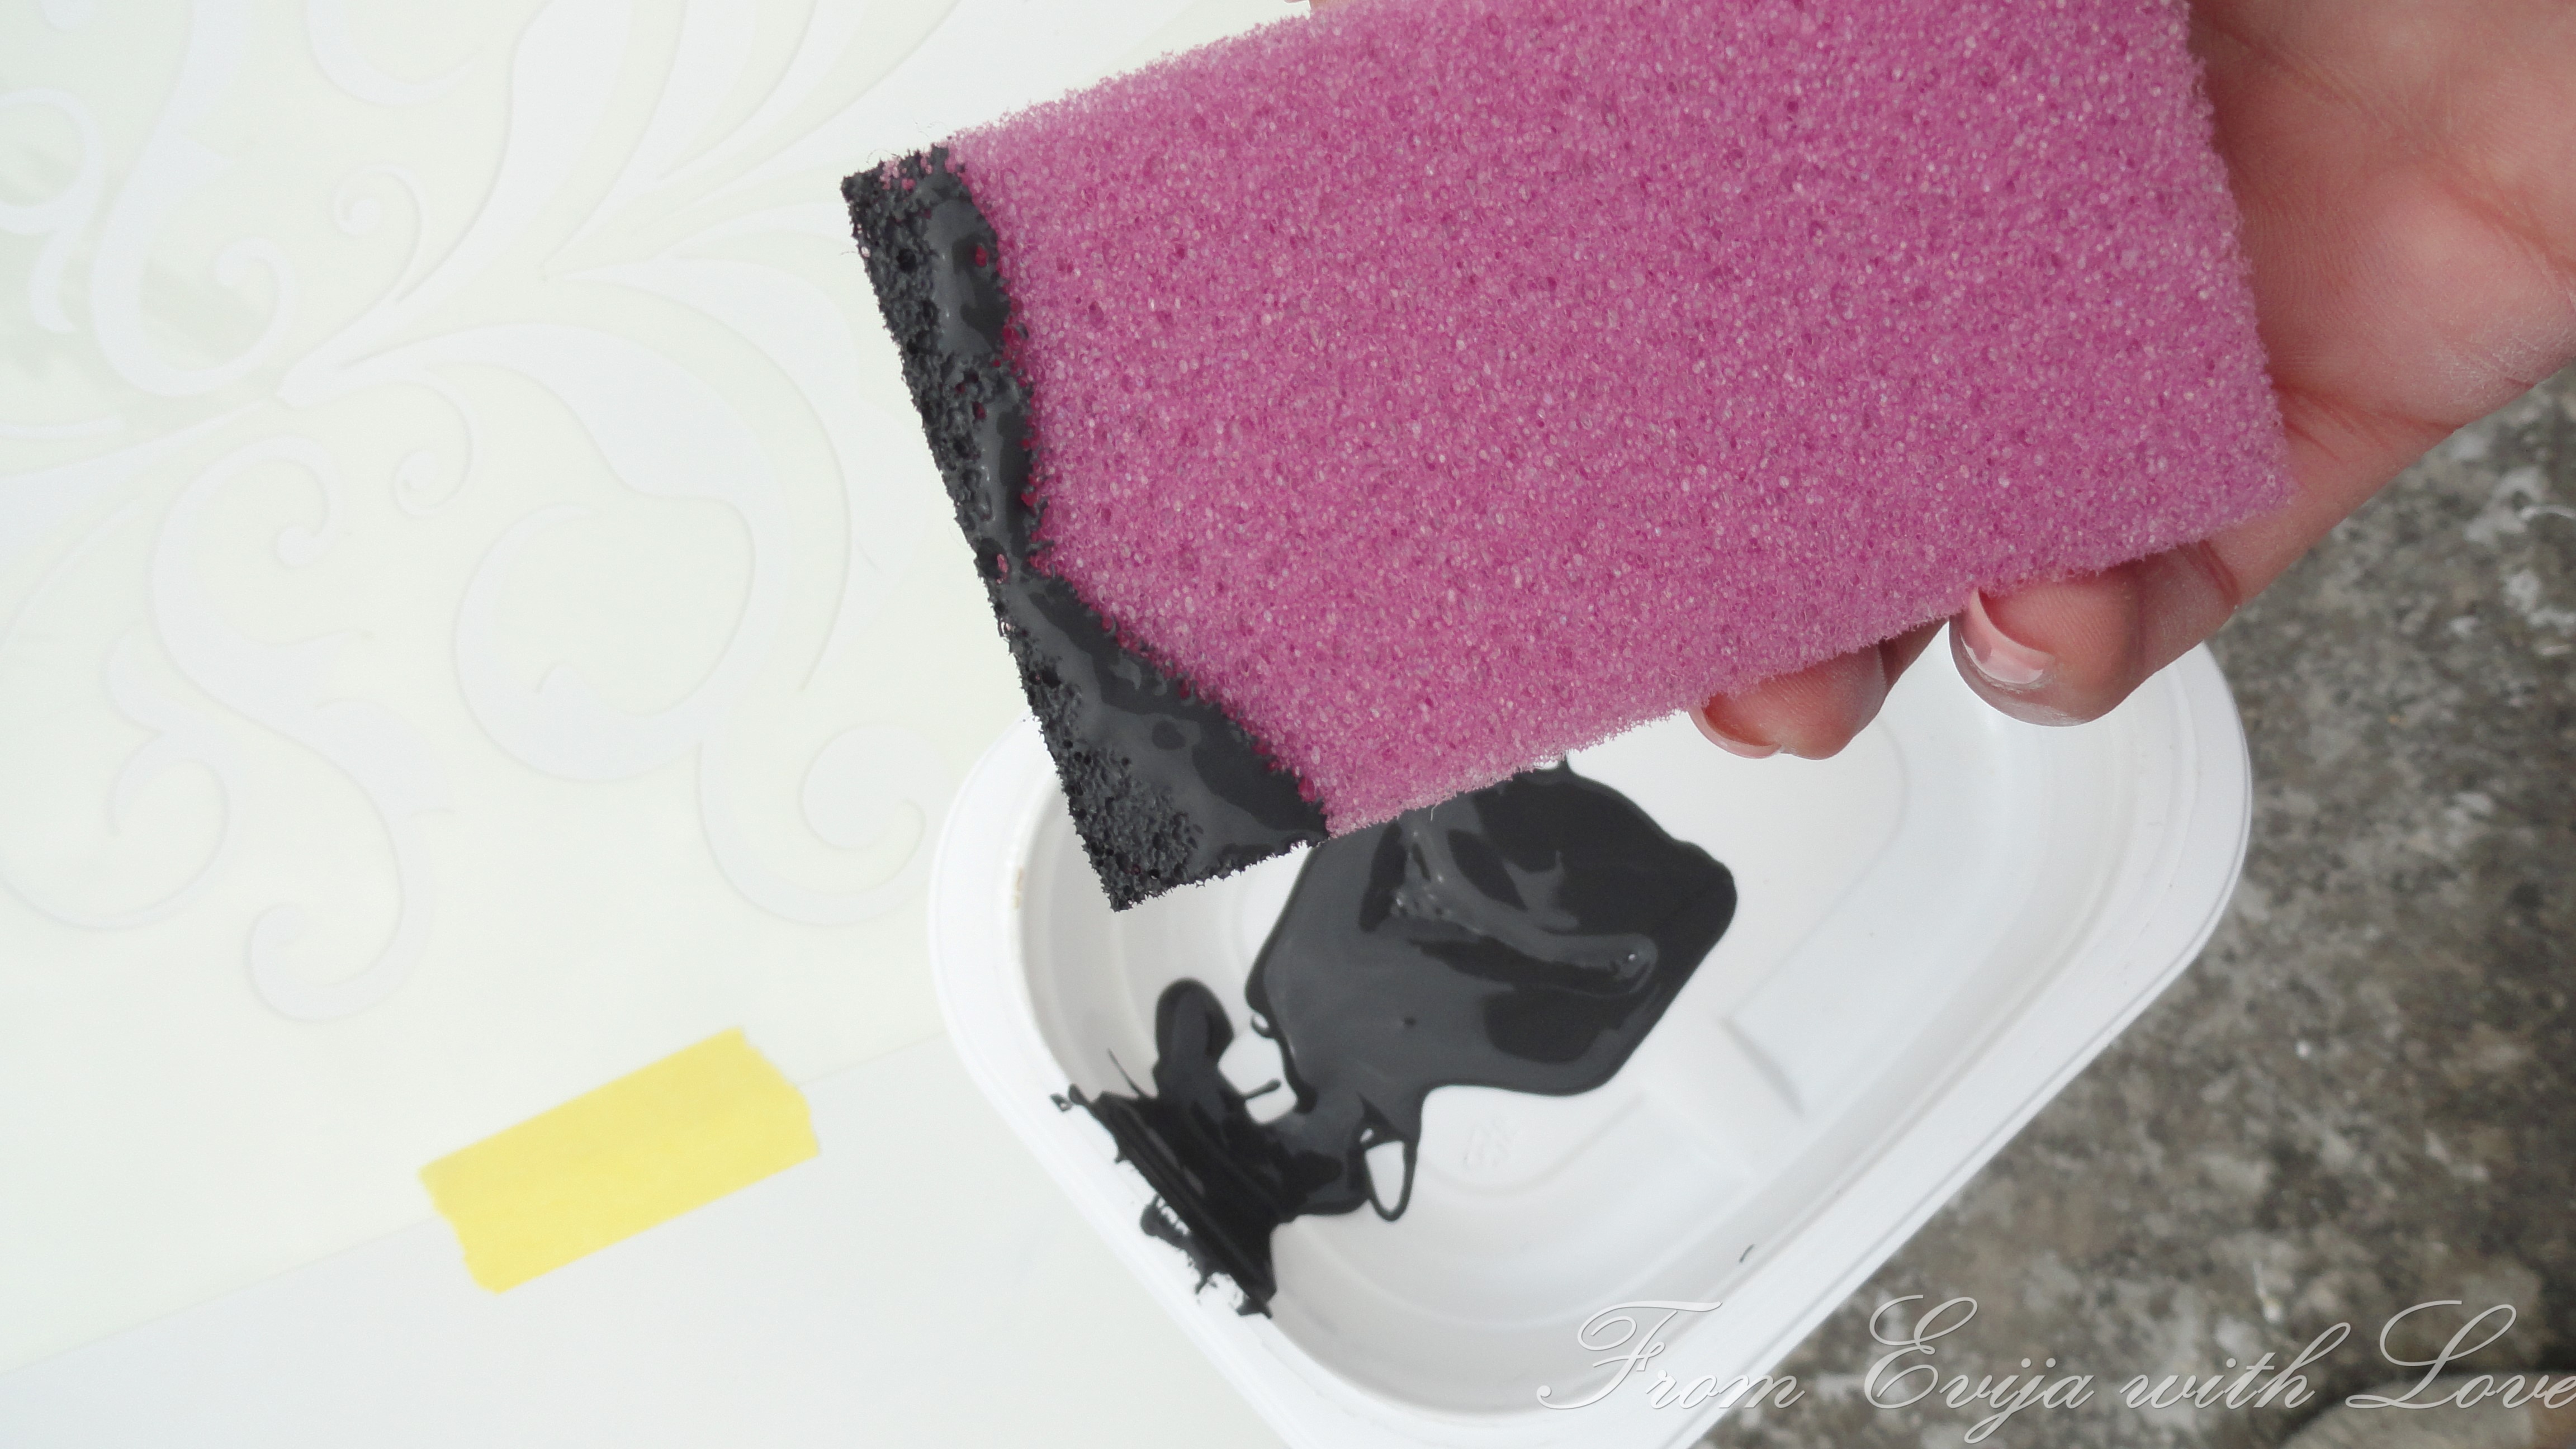
I had read that it is best to use very little paint to make sure it doesnt run through. Well I did try at first….
 … but then of course me being super eager I started using a little more paint to get this done quicker as I couldn’t wait to see the result…
It was very easy to work with as the stencil* was not flimsy at all.
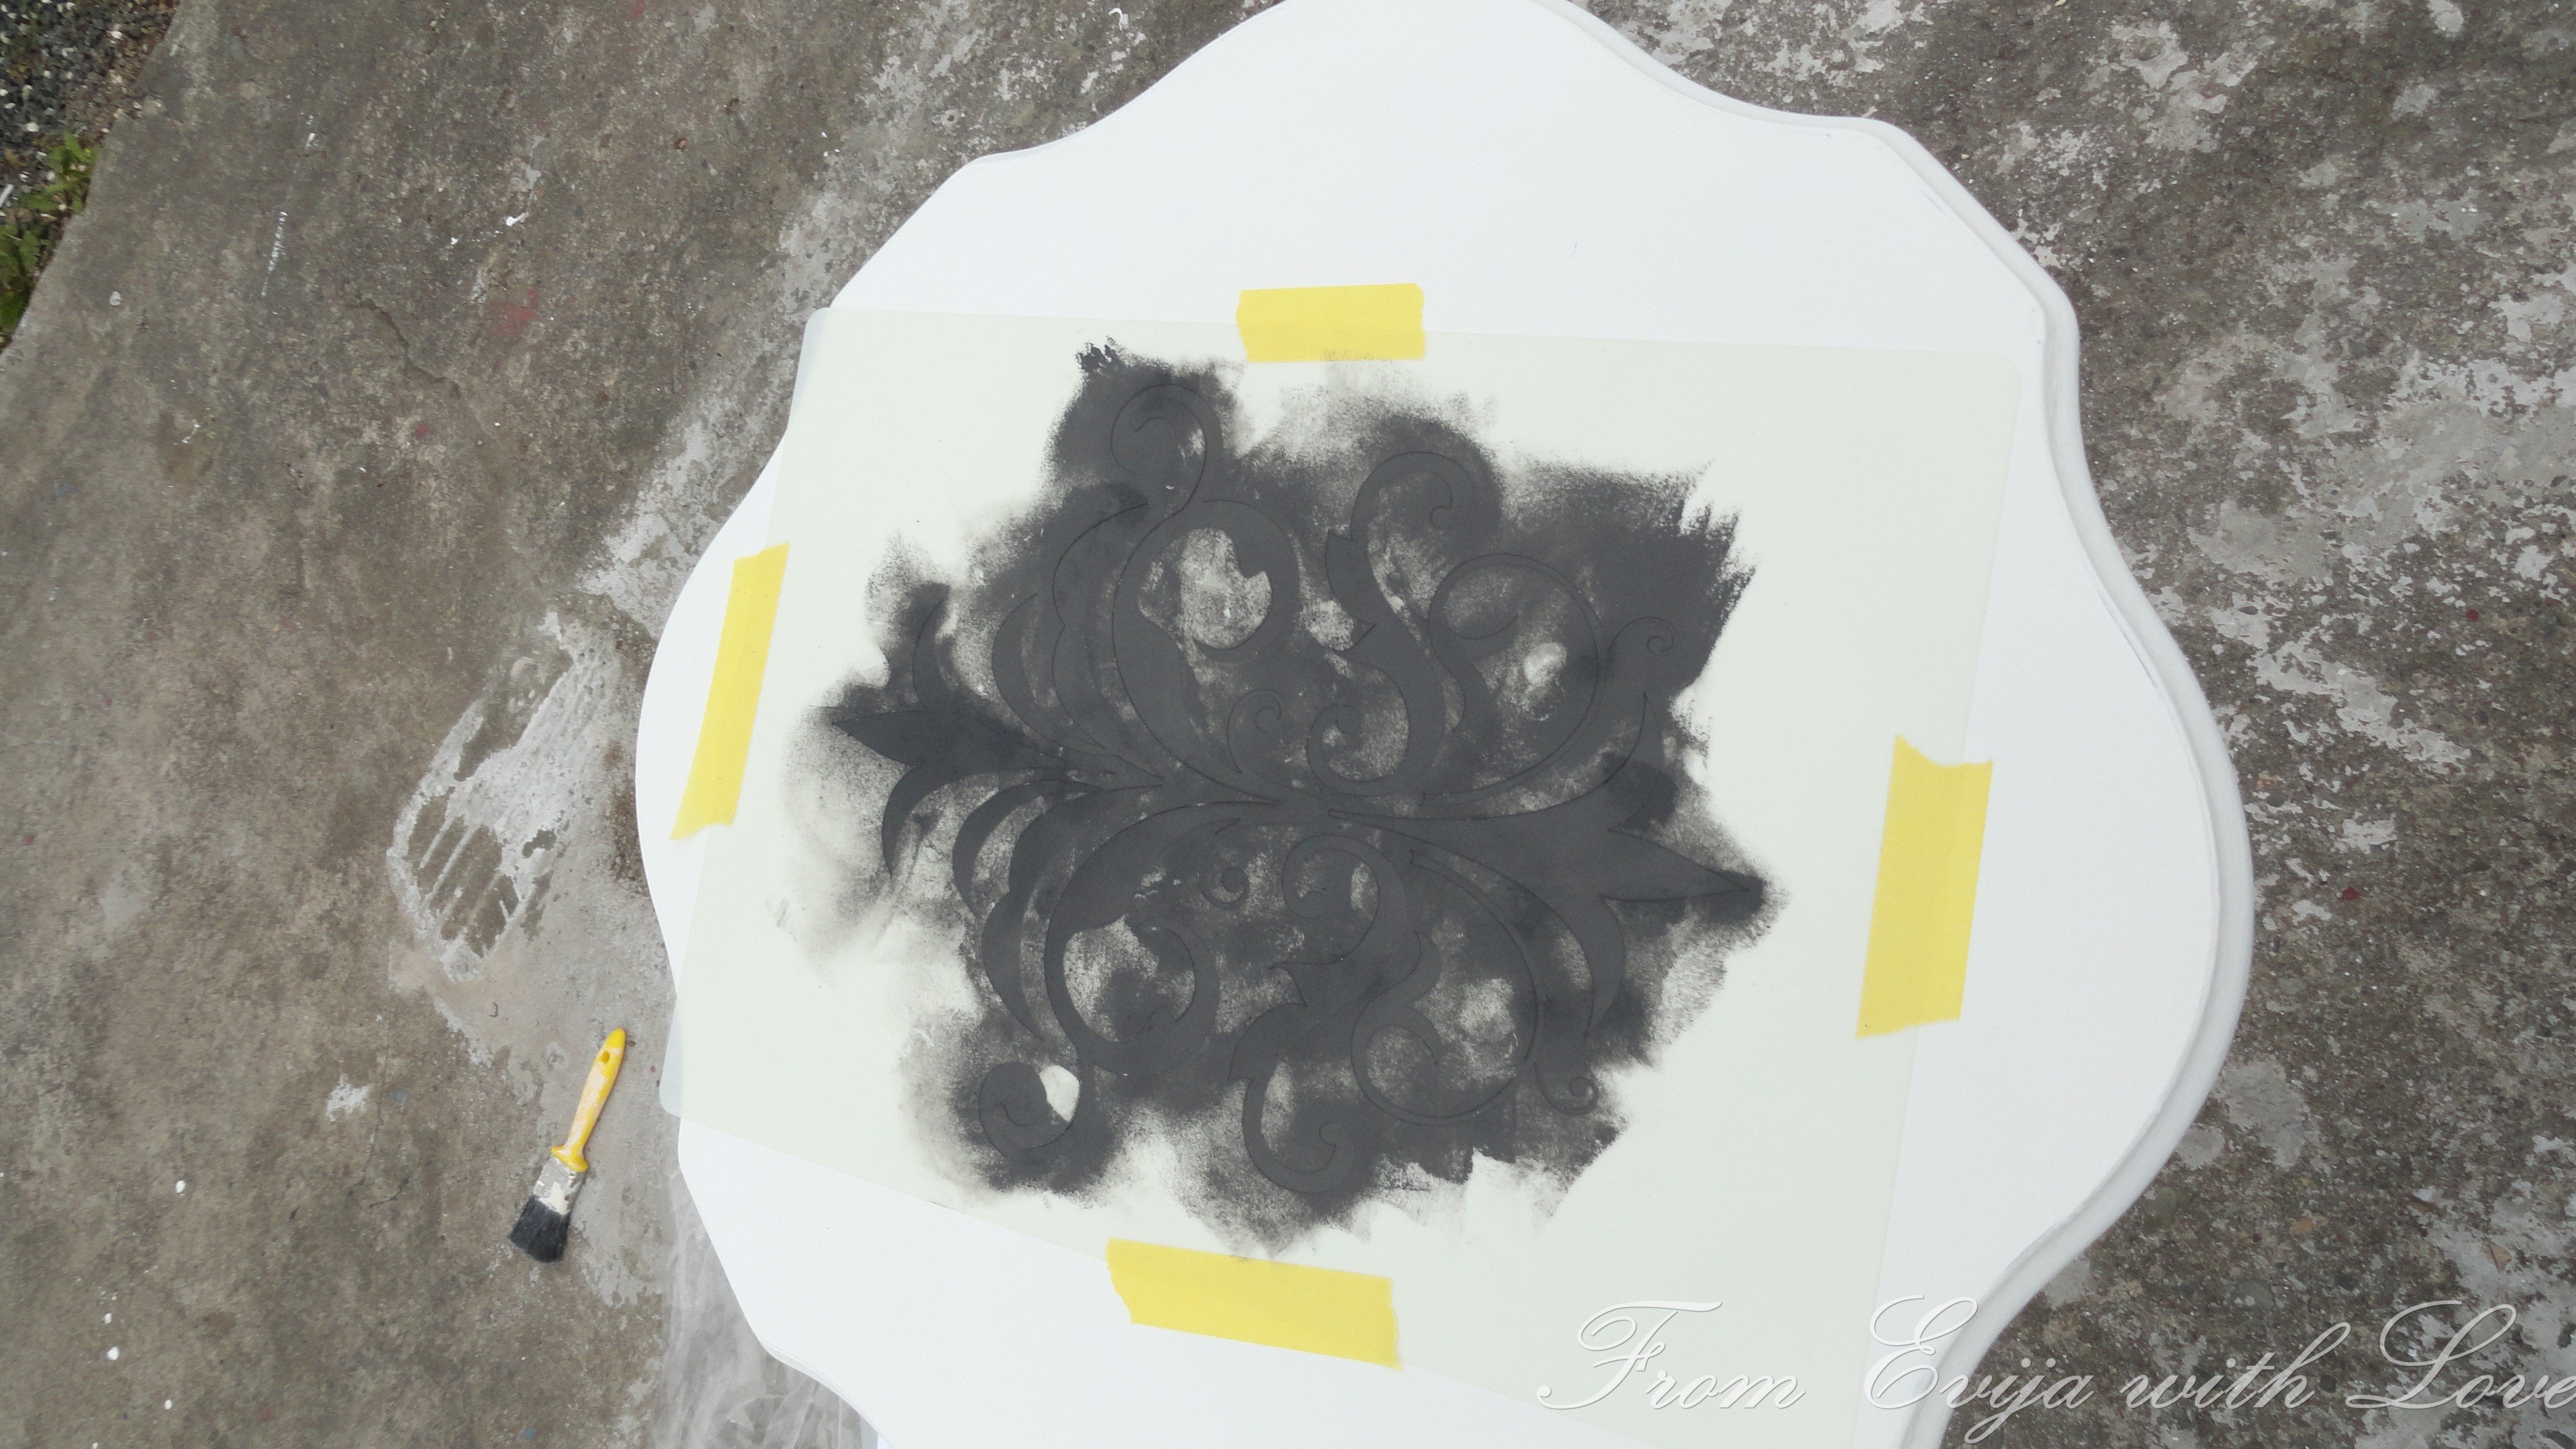
When the paint dried, I took the stencil* off.. And of course, the paint has run over in the places where I used too much paint… Why am I so EAGER??
What do do? try and fix it or do it again?
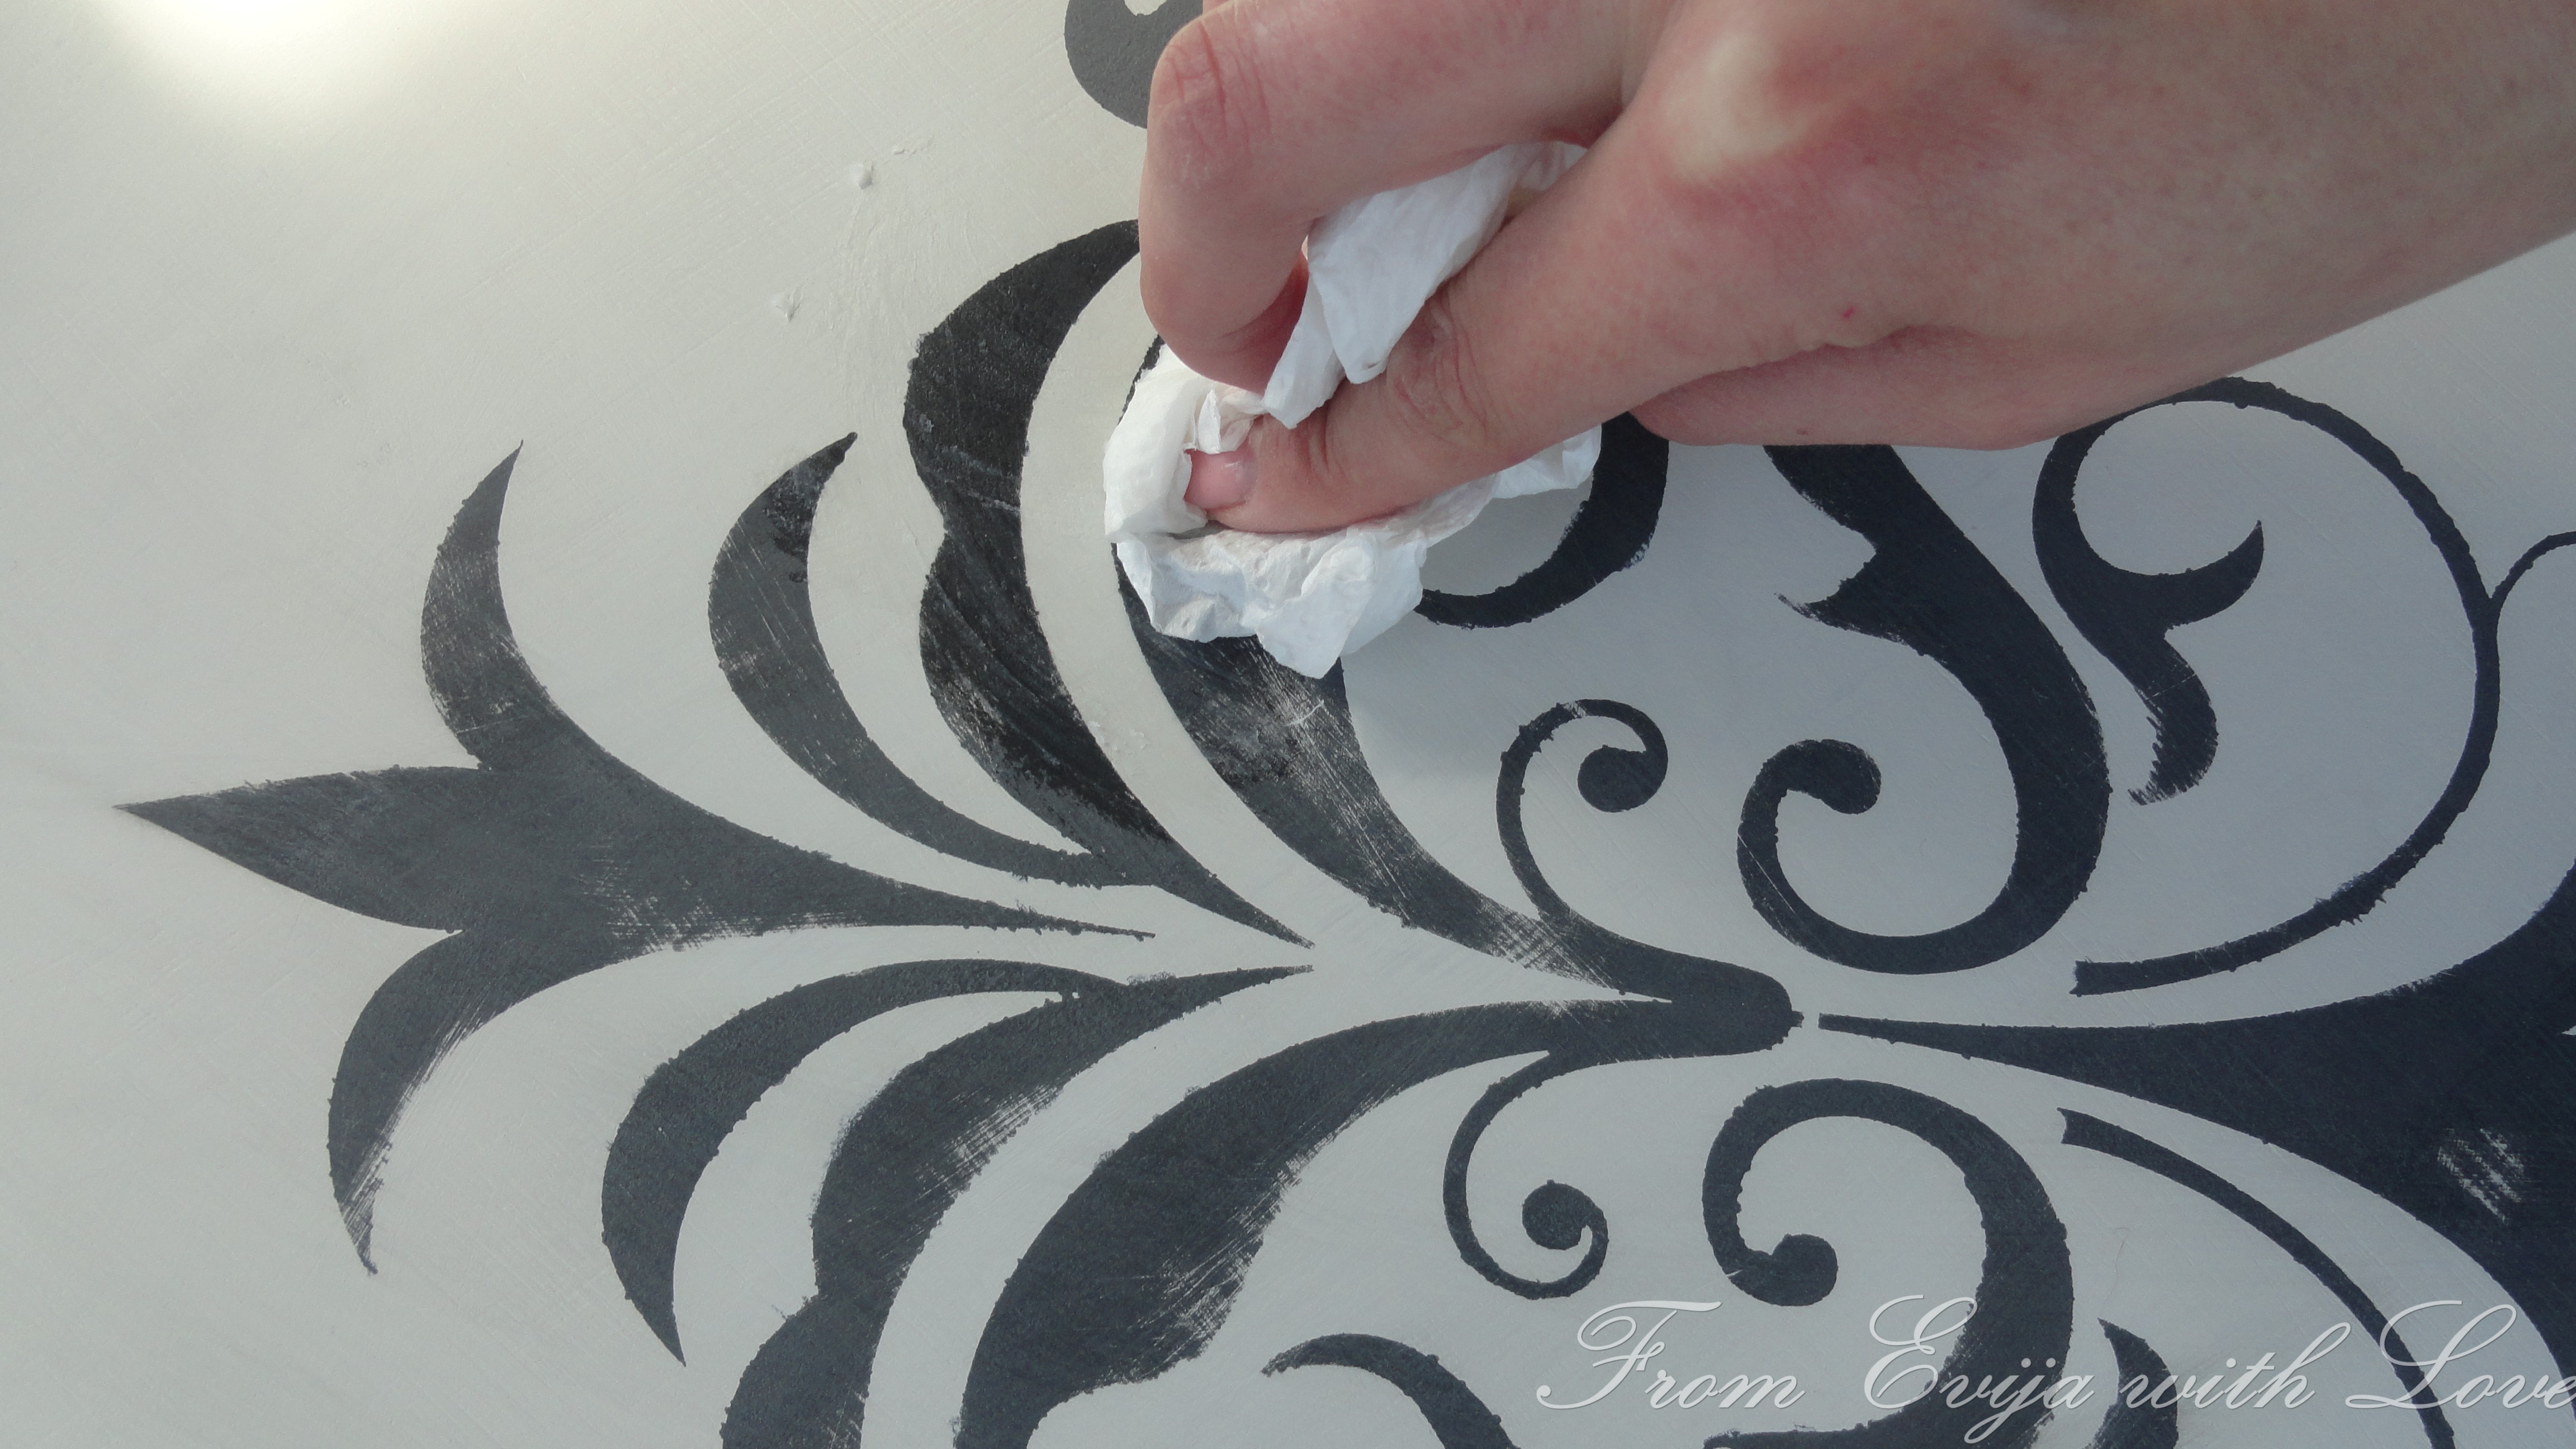
I decided to try and fix it first and go for the shabby chic/distressed look. I filled out with some white paint over the blurred lines with a very fine brush and when it was dry I sanded over the pattern.

I put some wax over hoping it would disguise it..

But I still wasn’t happy… If you want it to look right, no cutting corners and do it properly!
So I painted over the damask pattern and started again!!
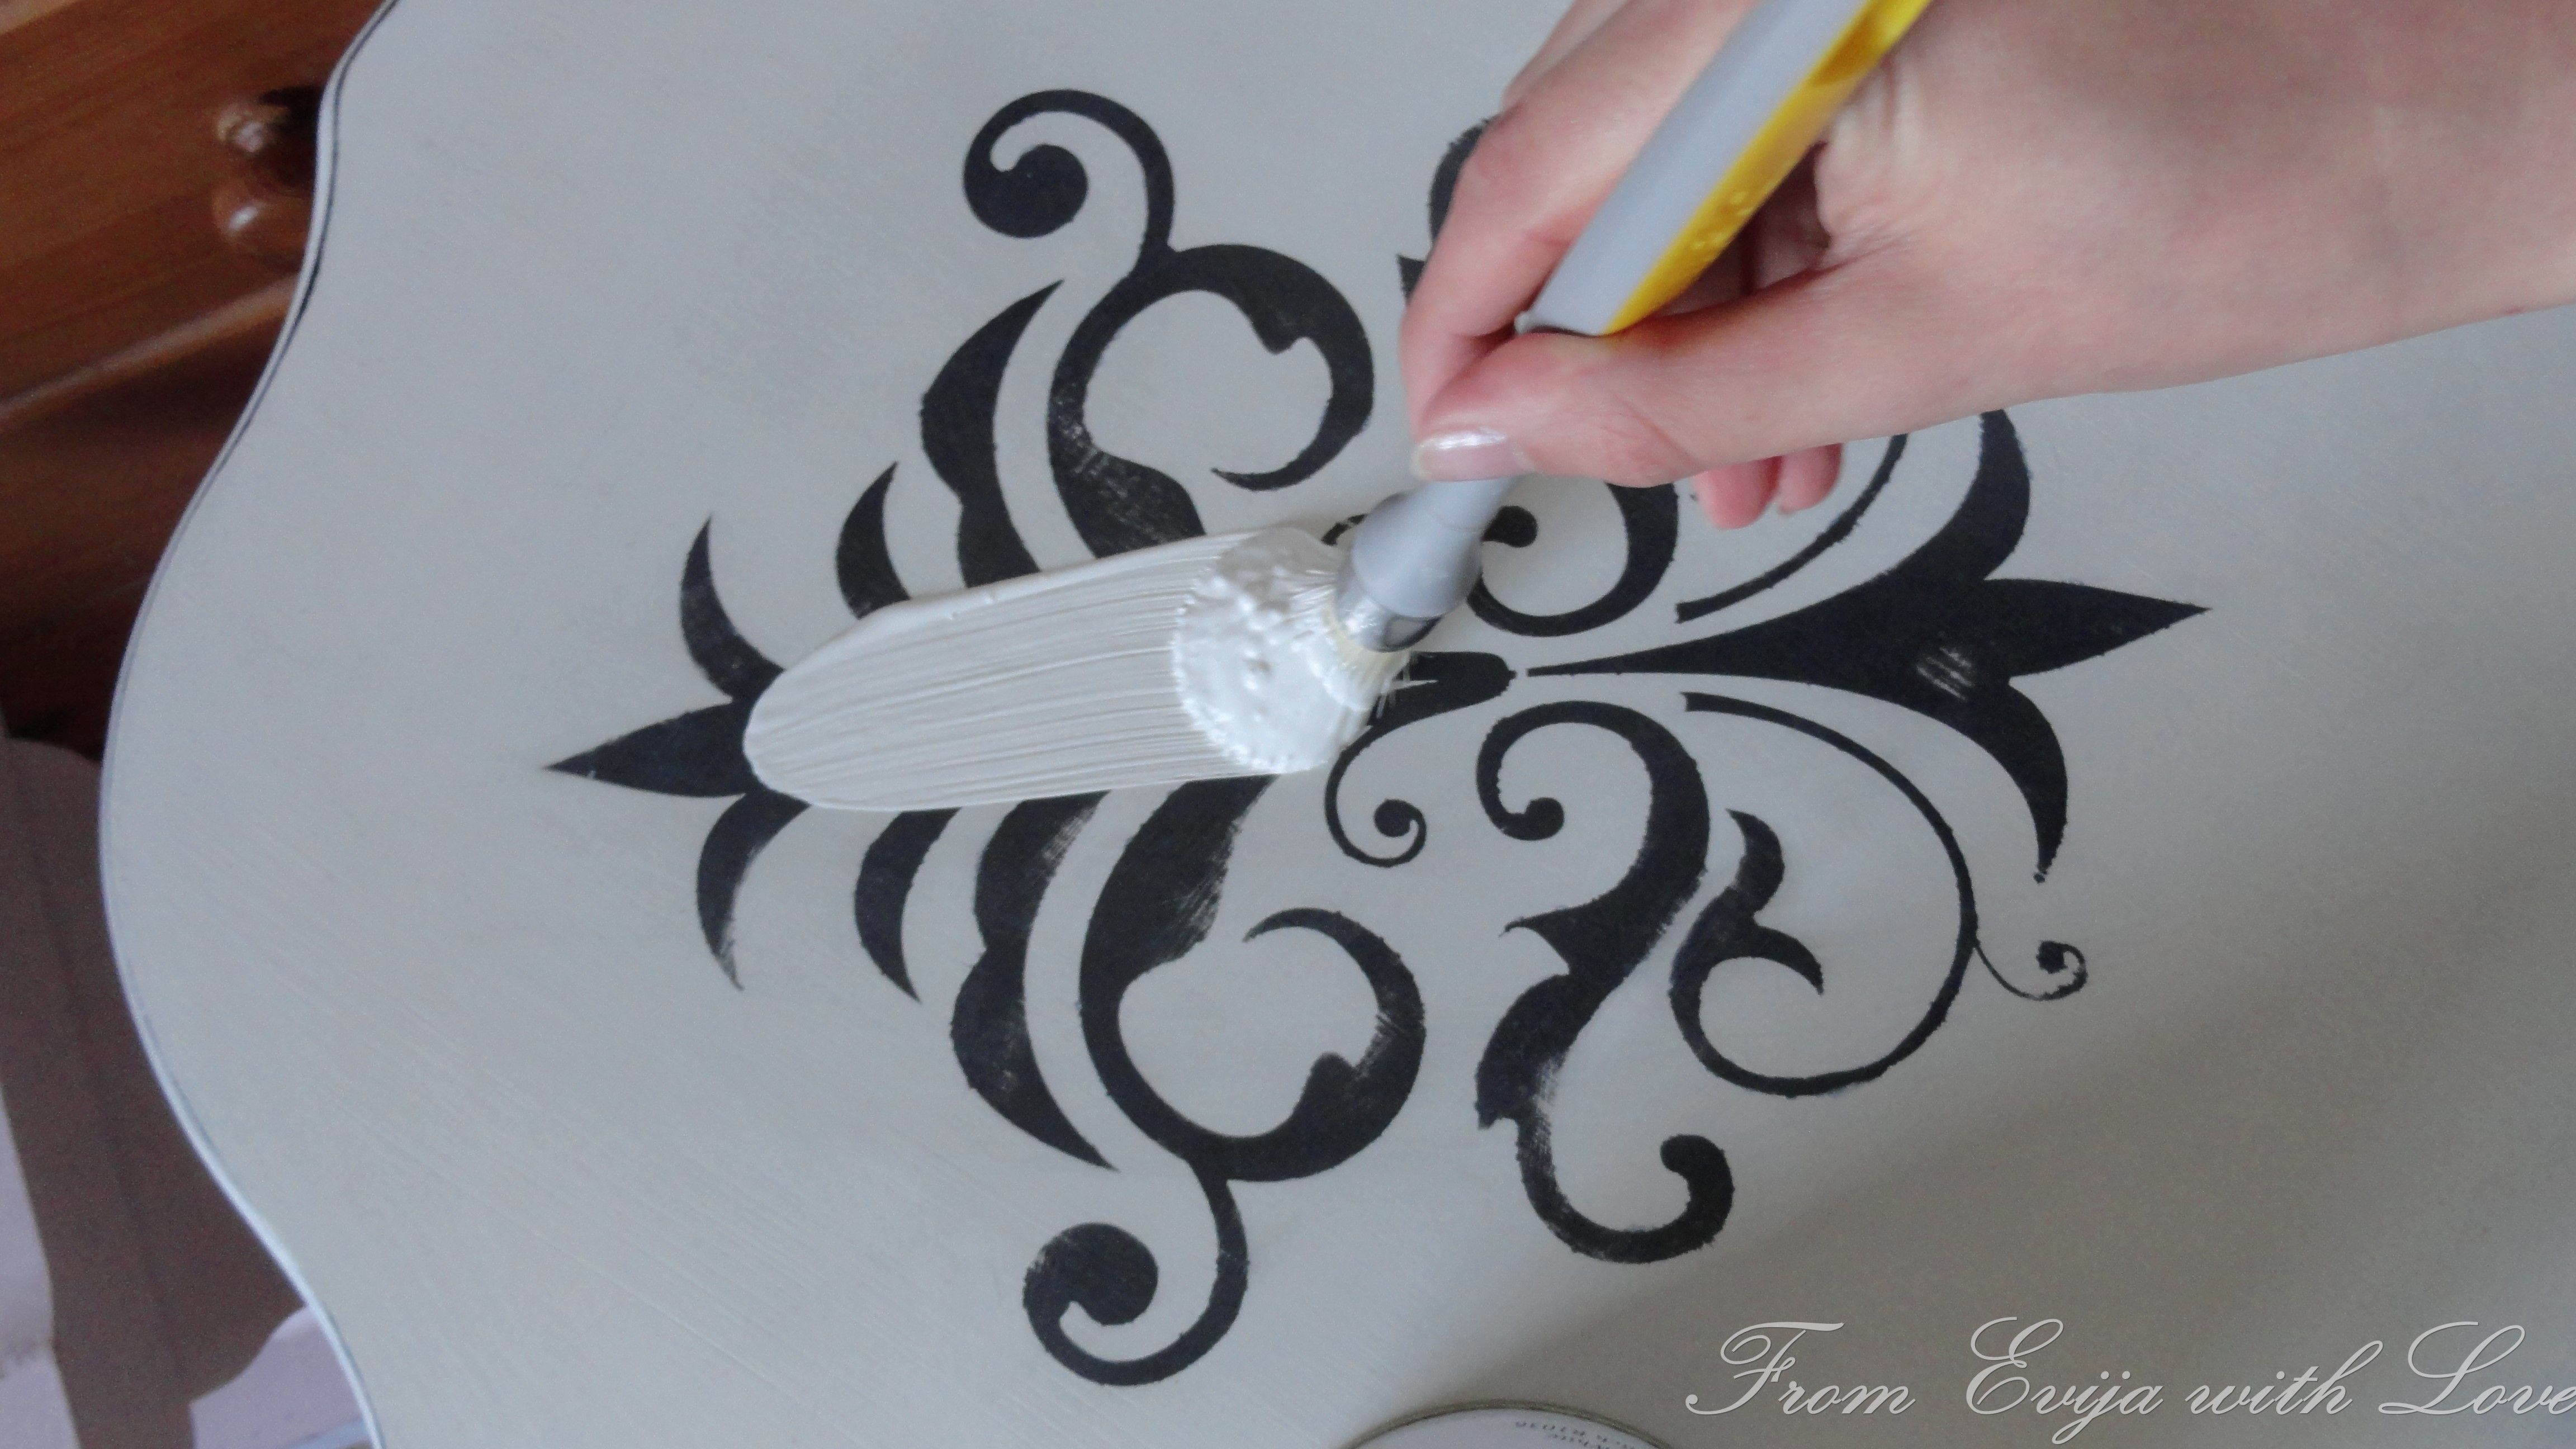

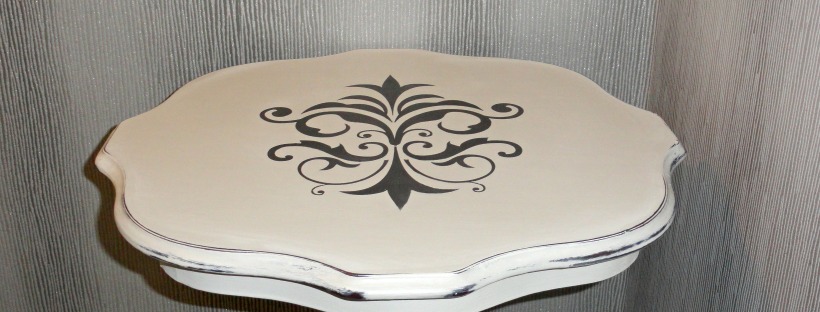
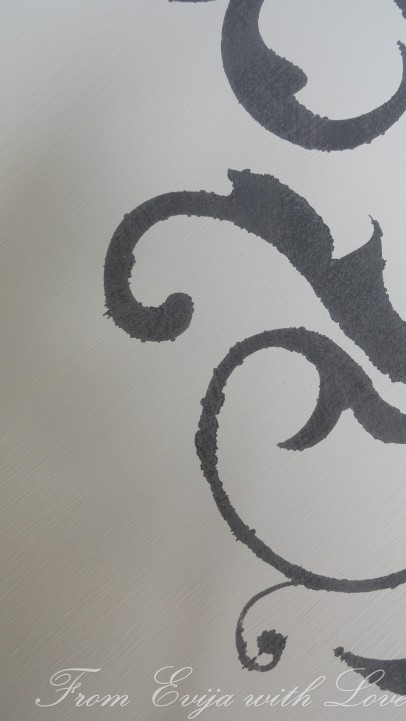
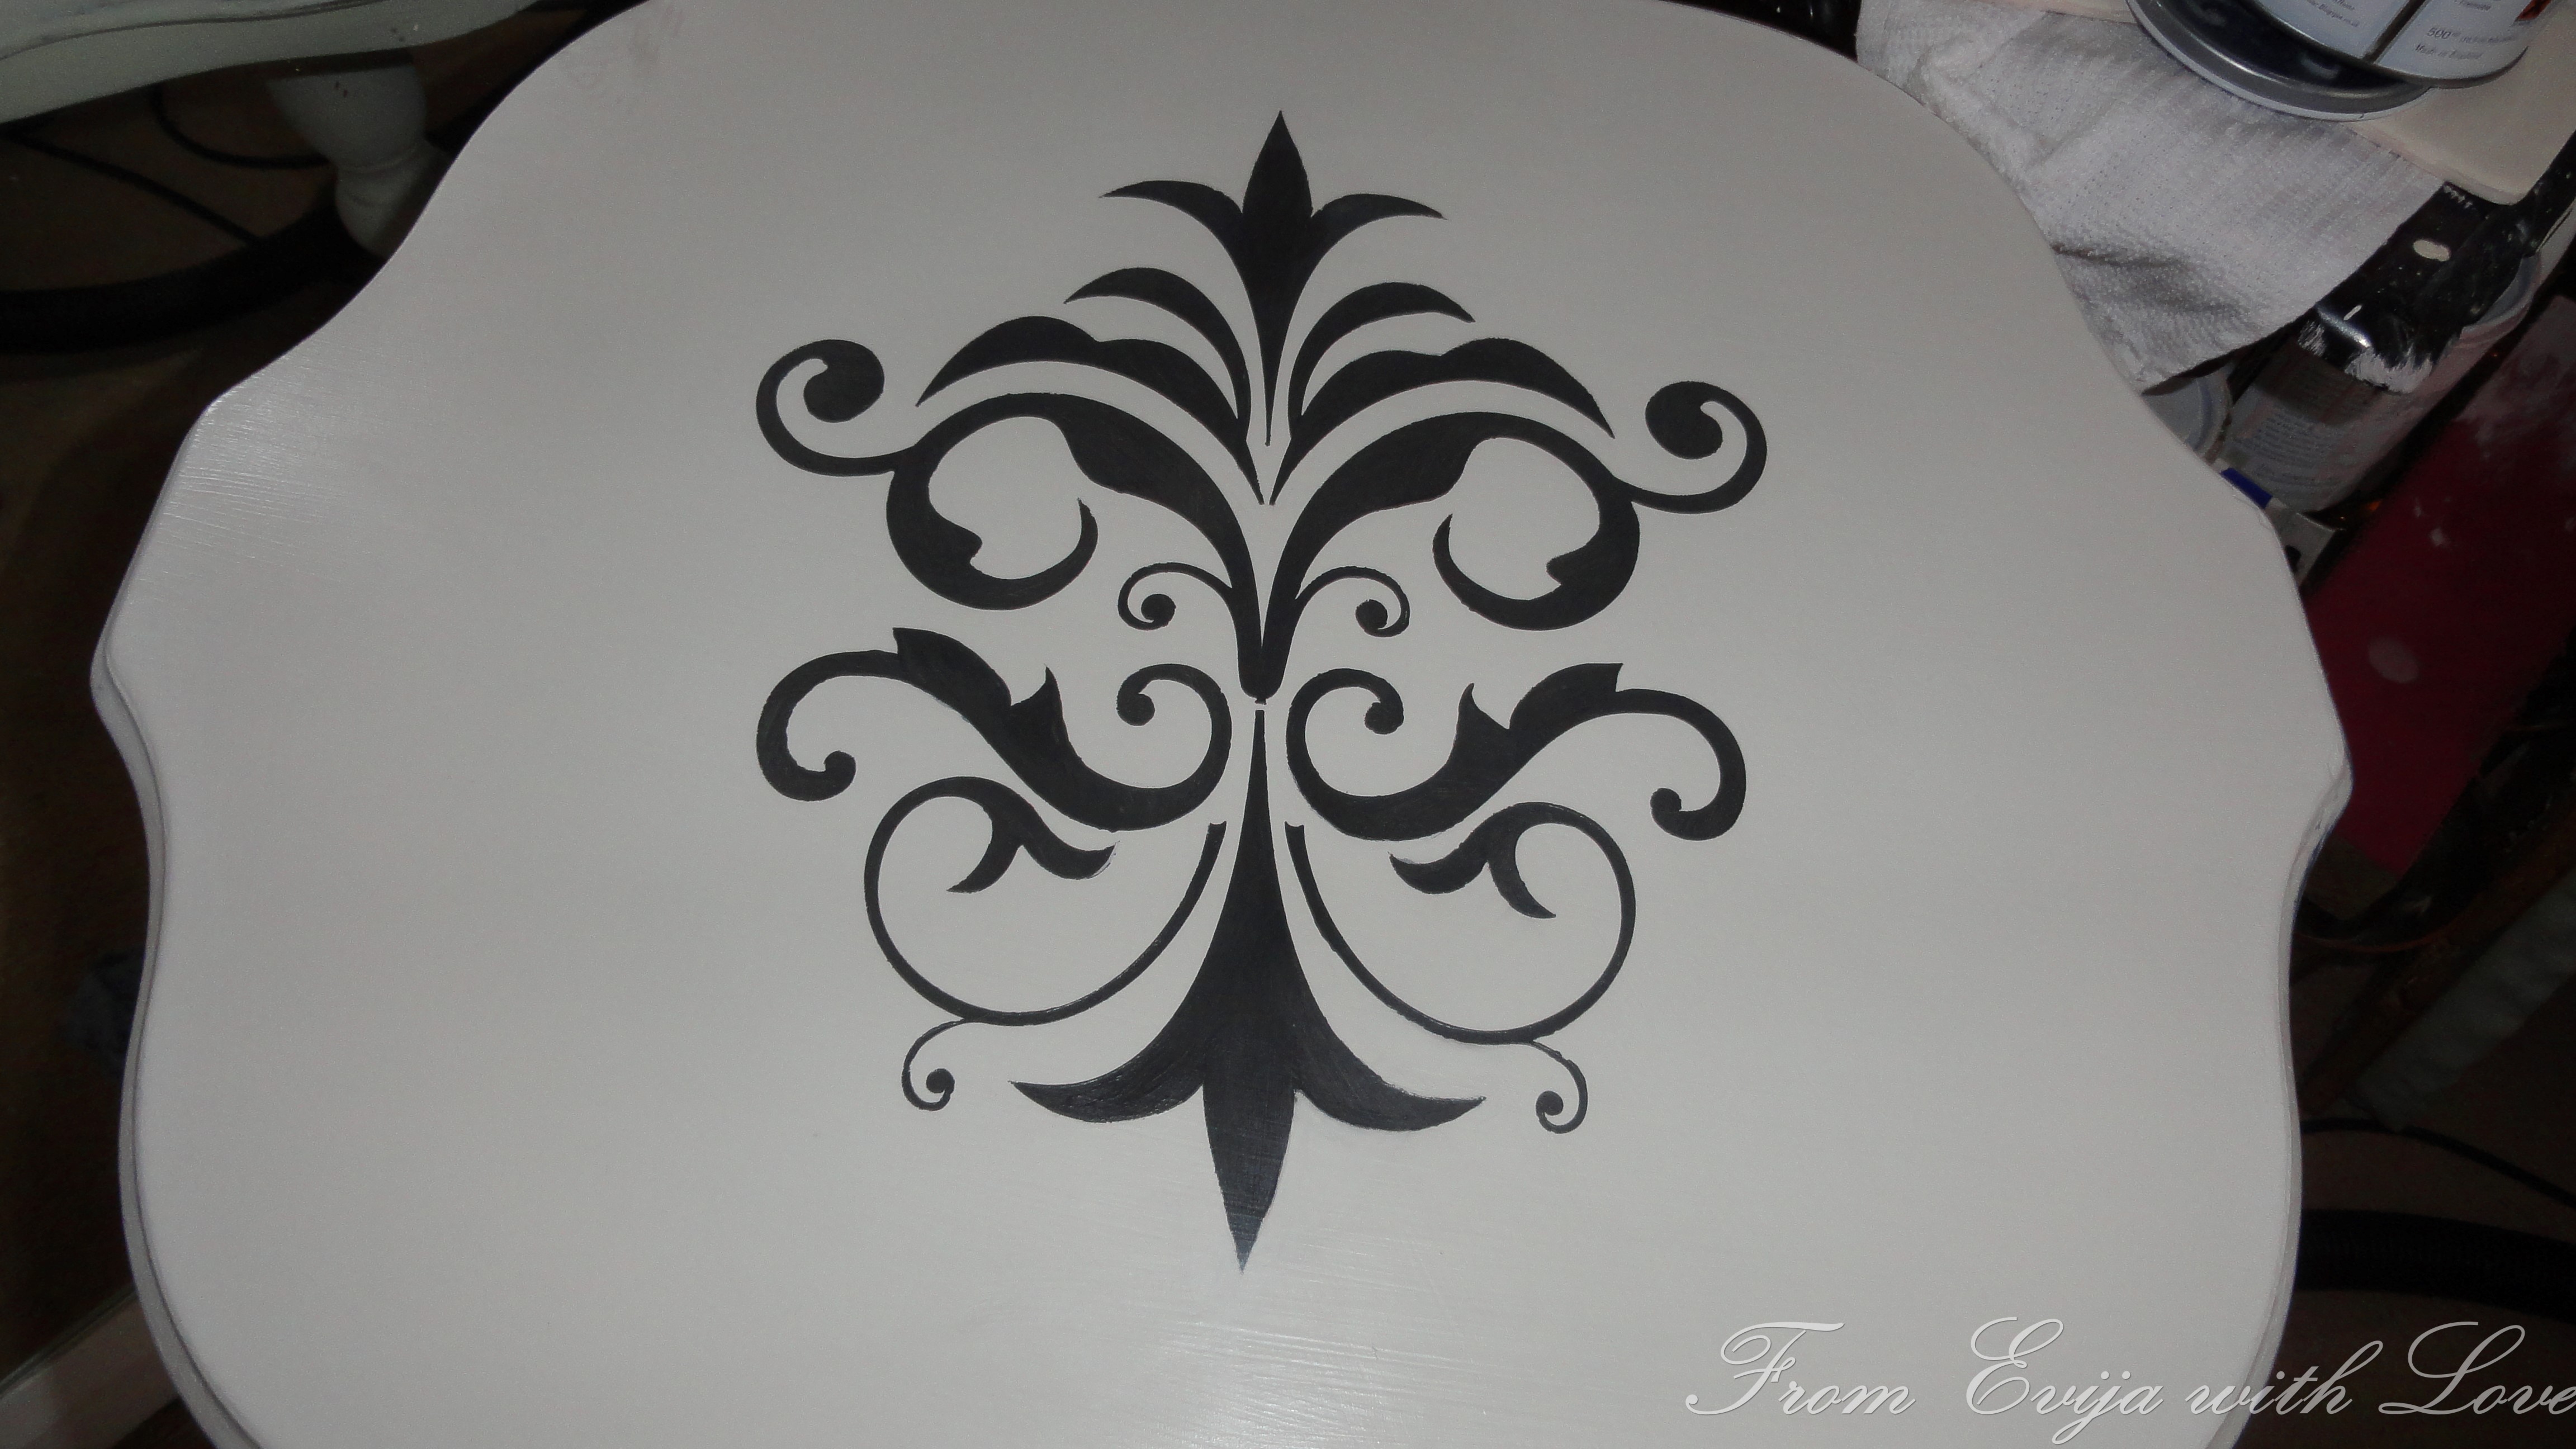
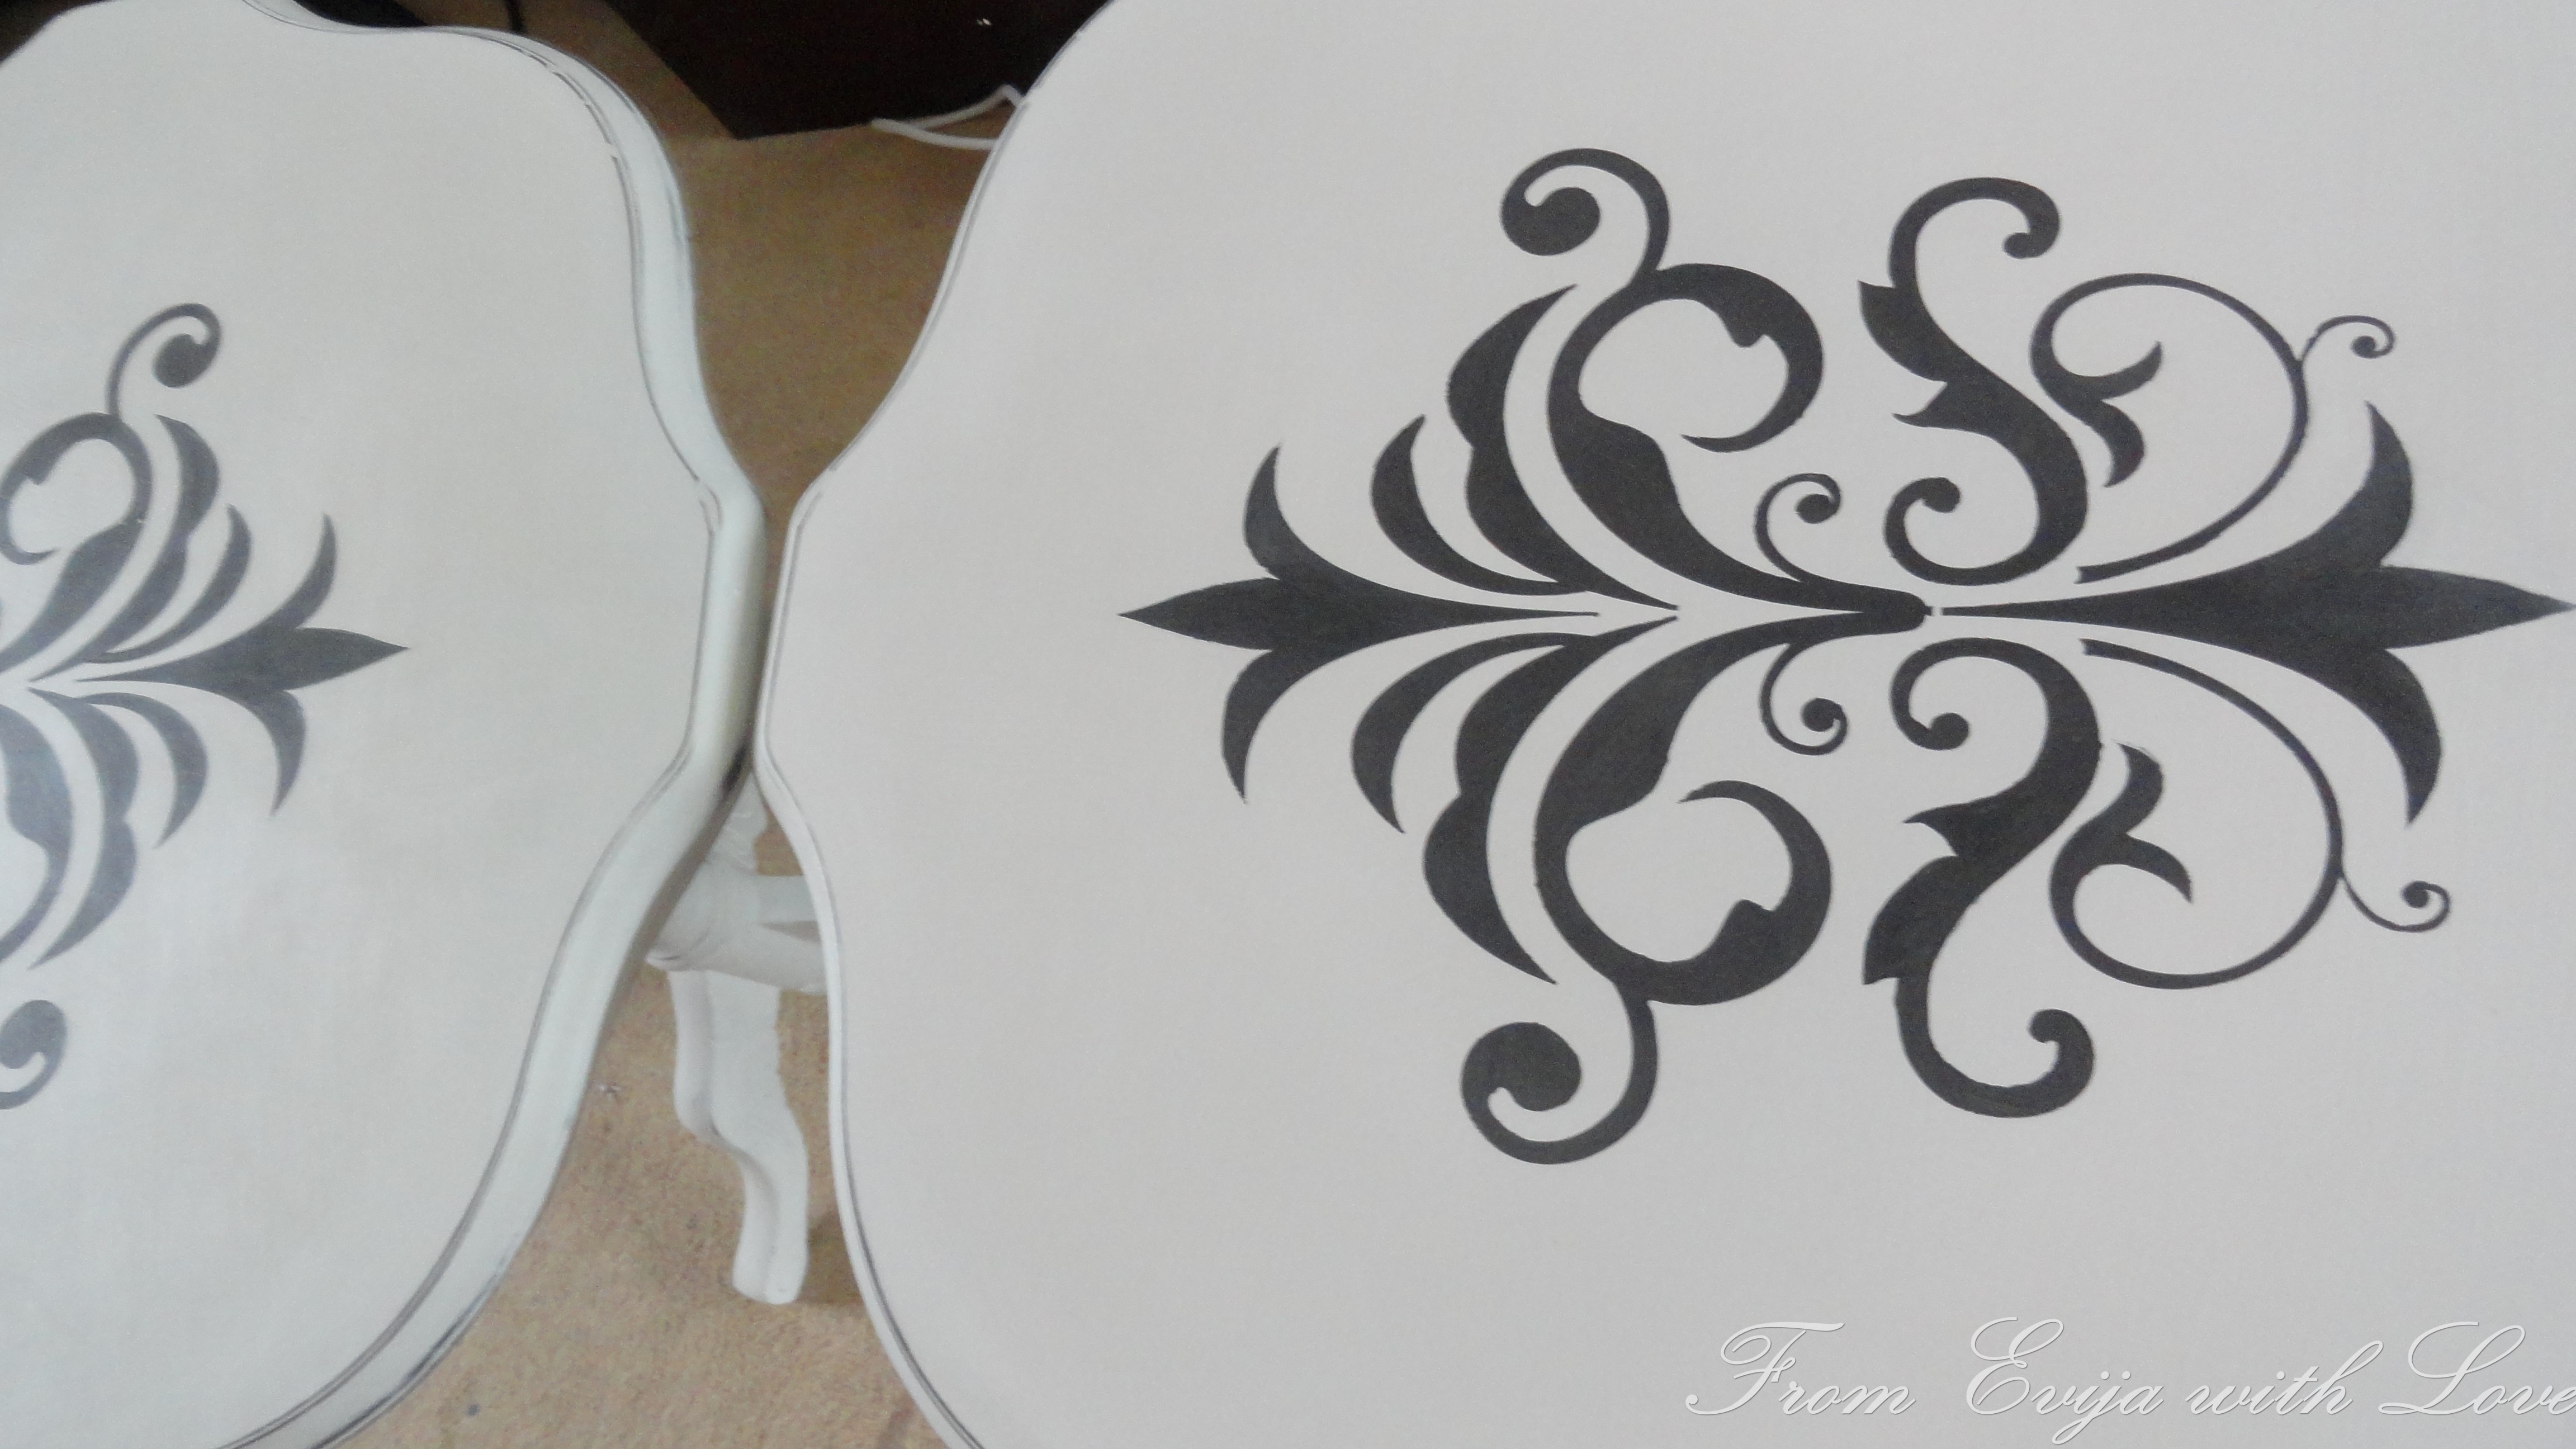
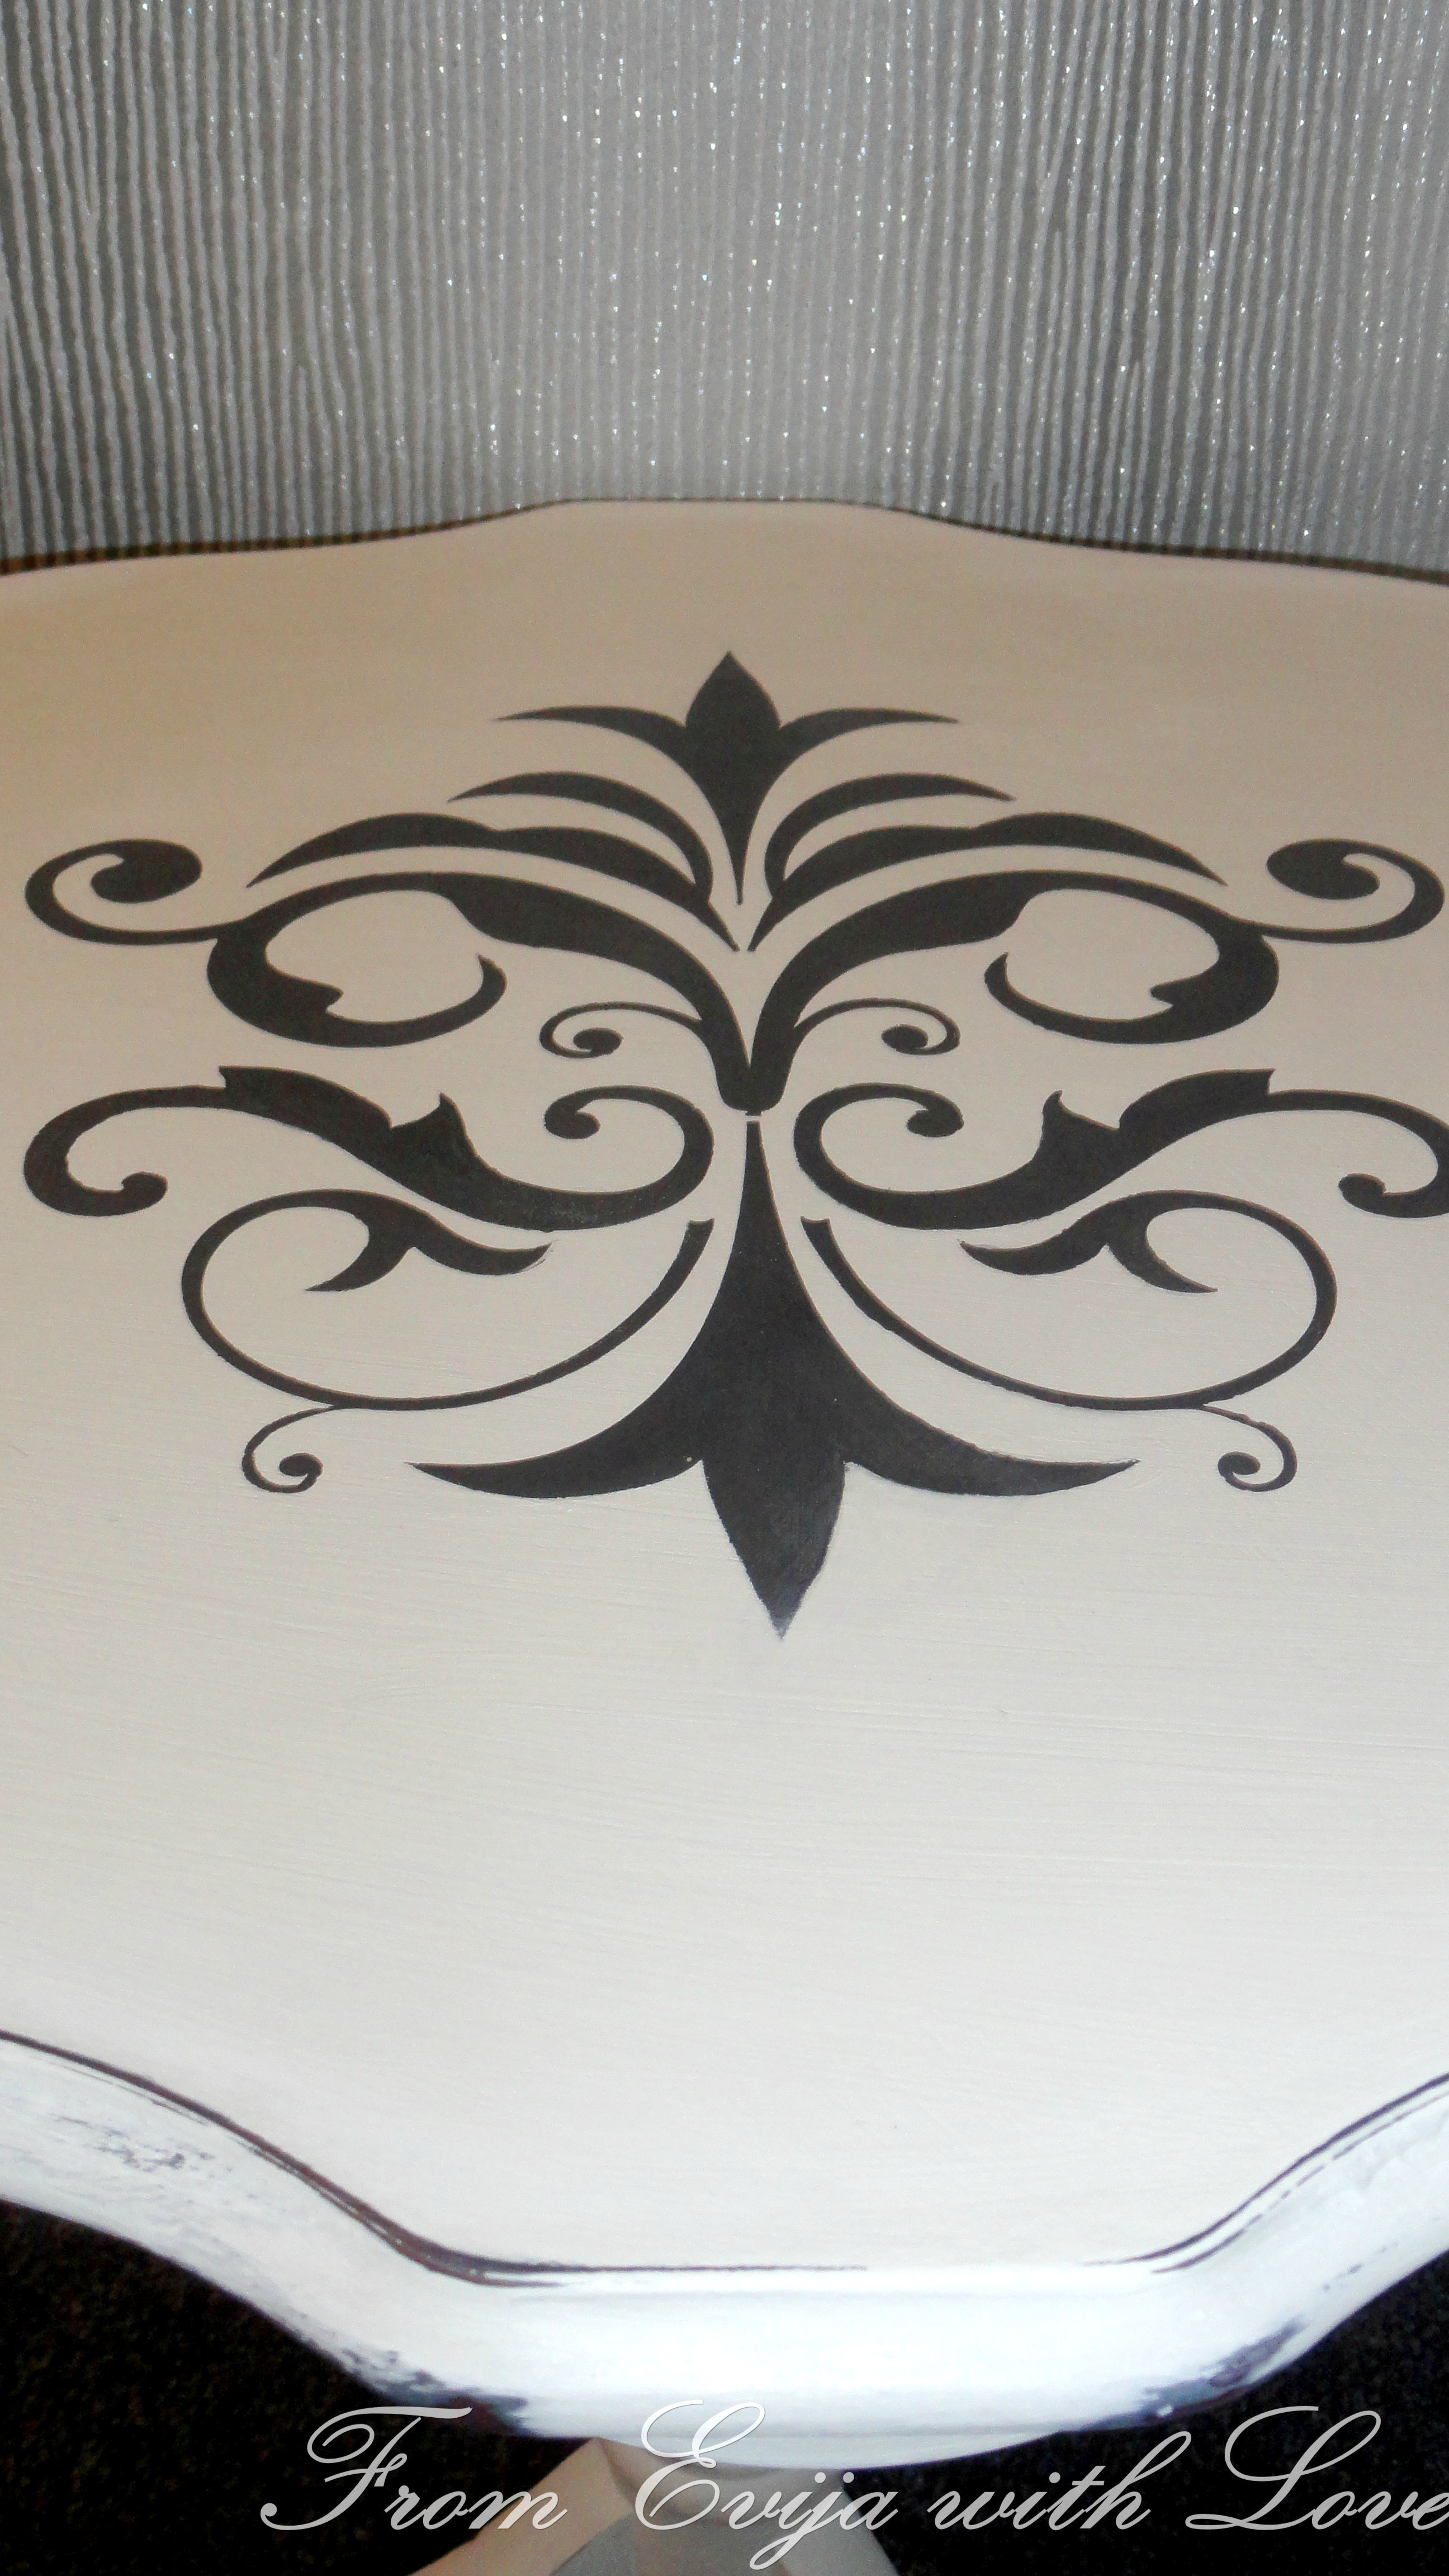
This time I took my time and used a brush and painted over the stencil* using a little bit of paint. When I removed the stencil* the lines weren’t as blurry as first time so I was very pleased with my second attempt.

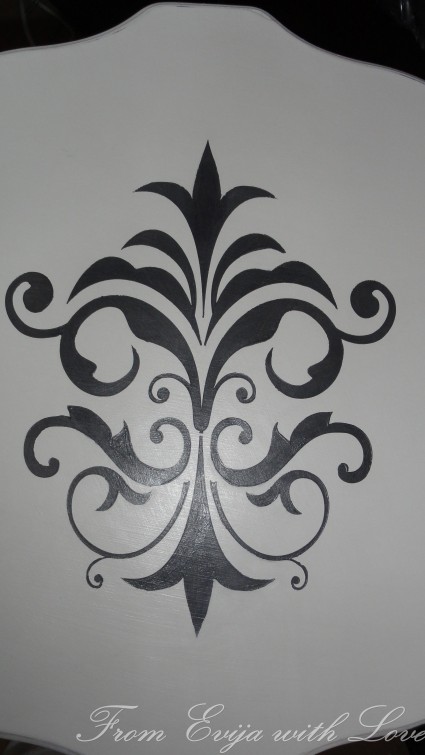
So much better!

I then waxed the table and buffed away.
I wanted the graphite paint to shine through, so I distressed the table on the sides using some sandpaper. I then realised that I should have only painted the sides in graphite and areas where the paint will actually be exposed. Will note on my next project!
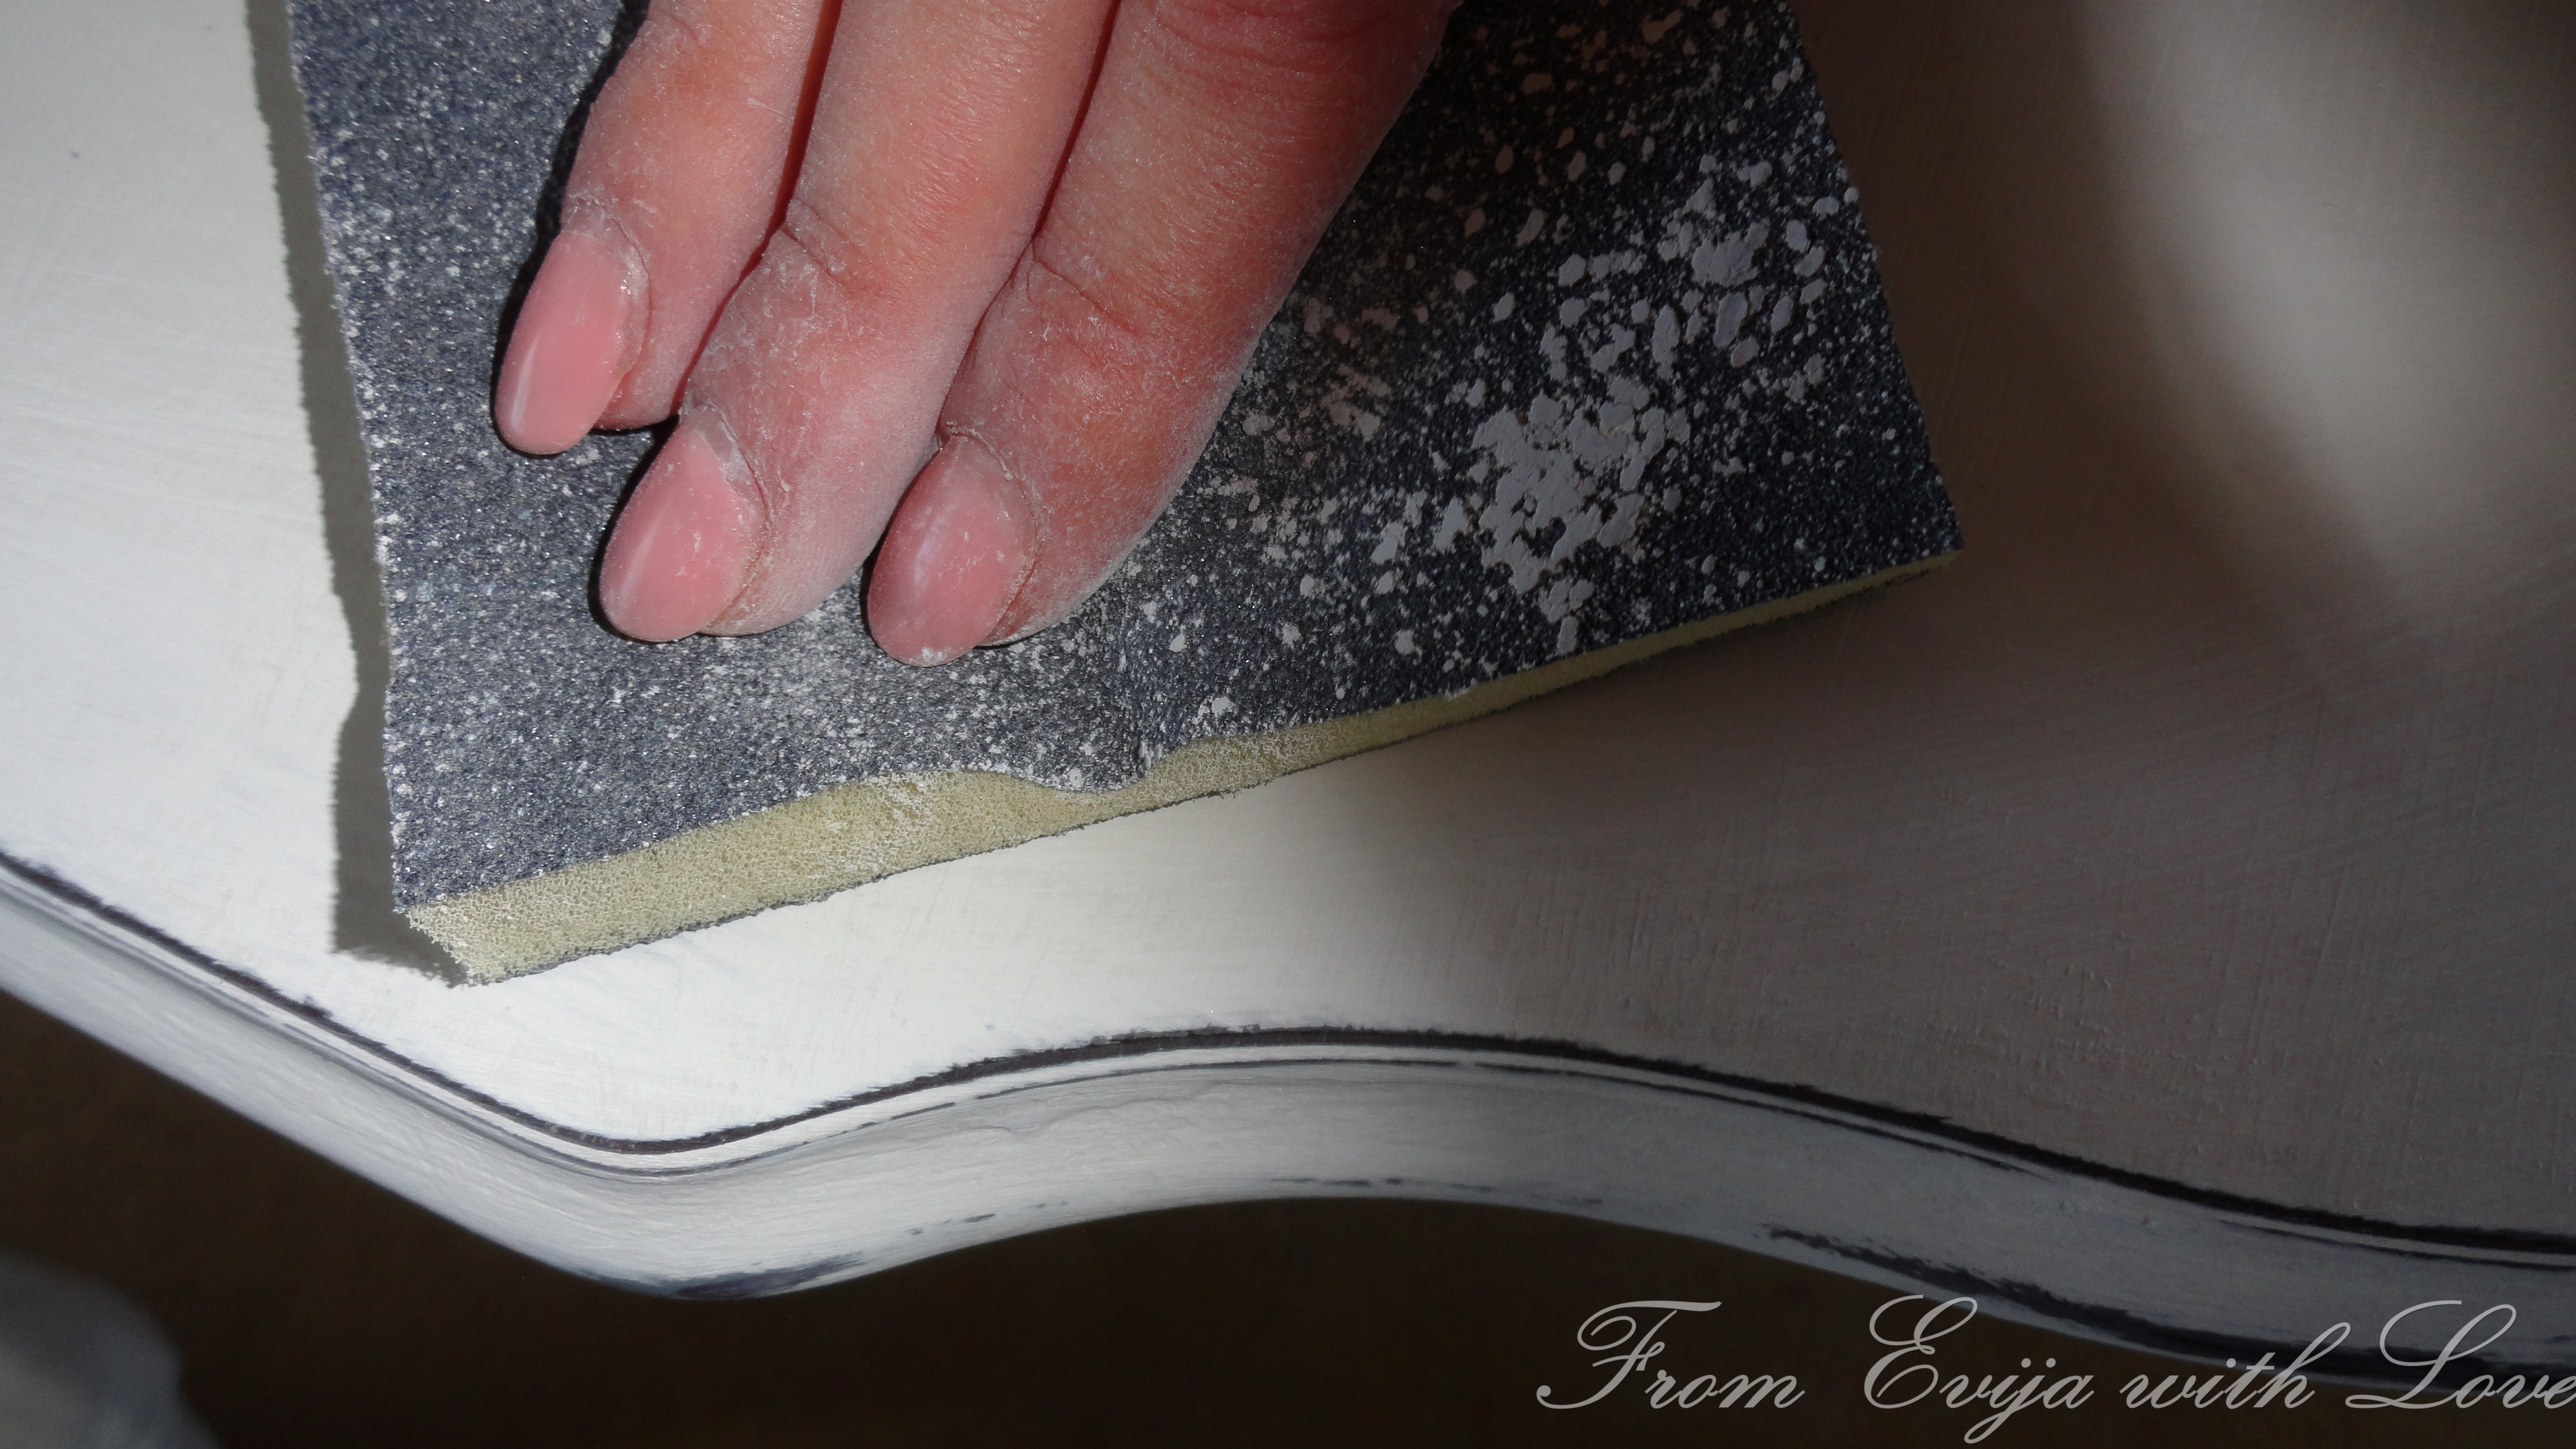
I then put another coat of wax over the distressed areas and the table was done!


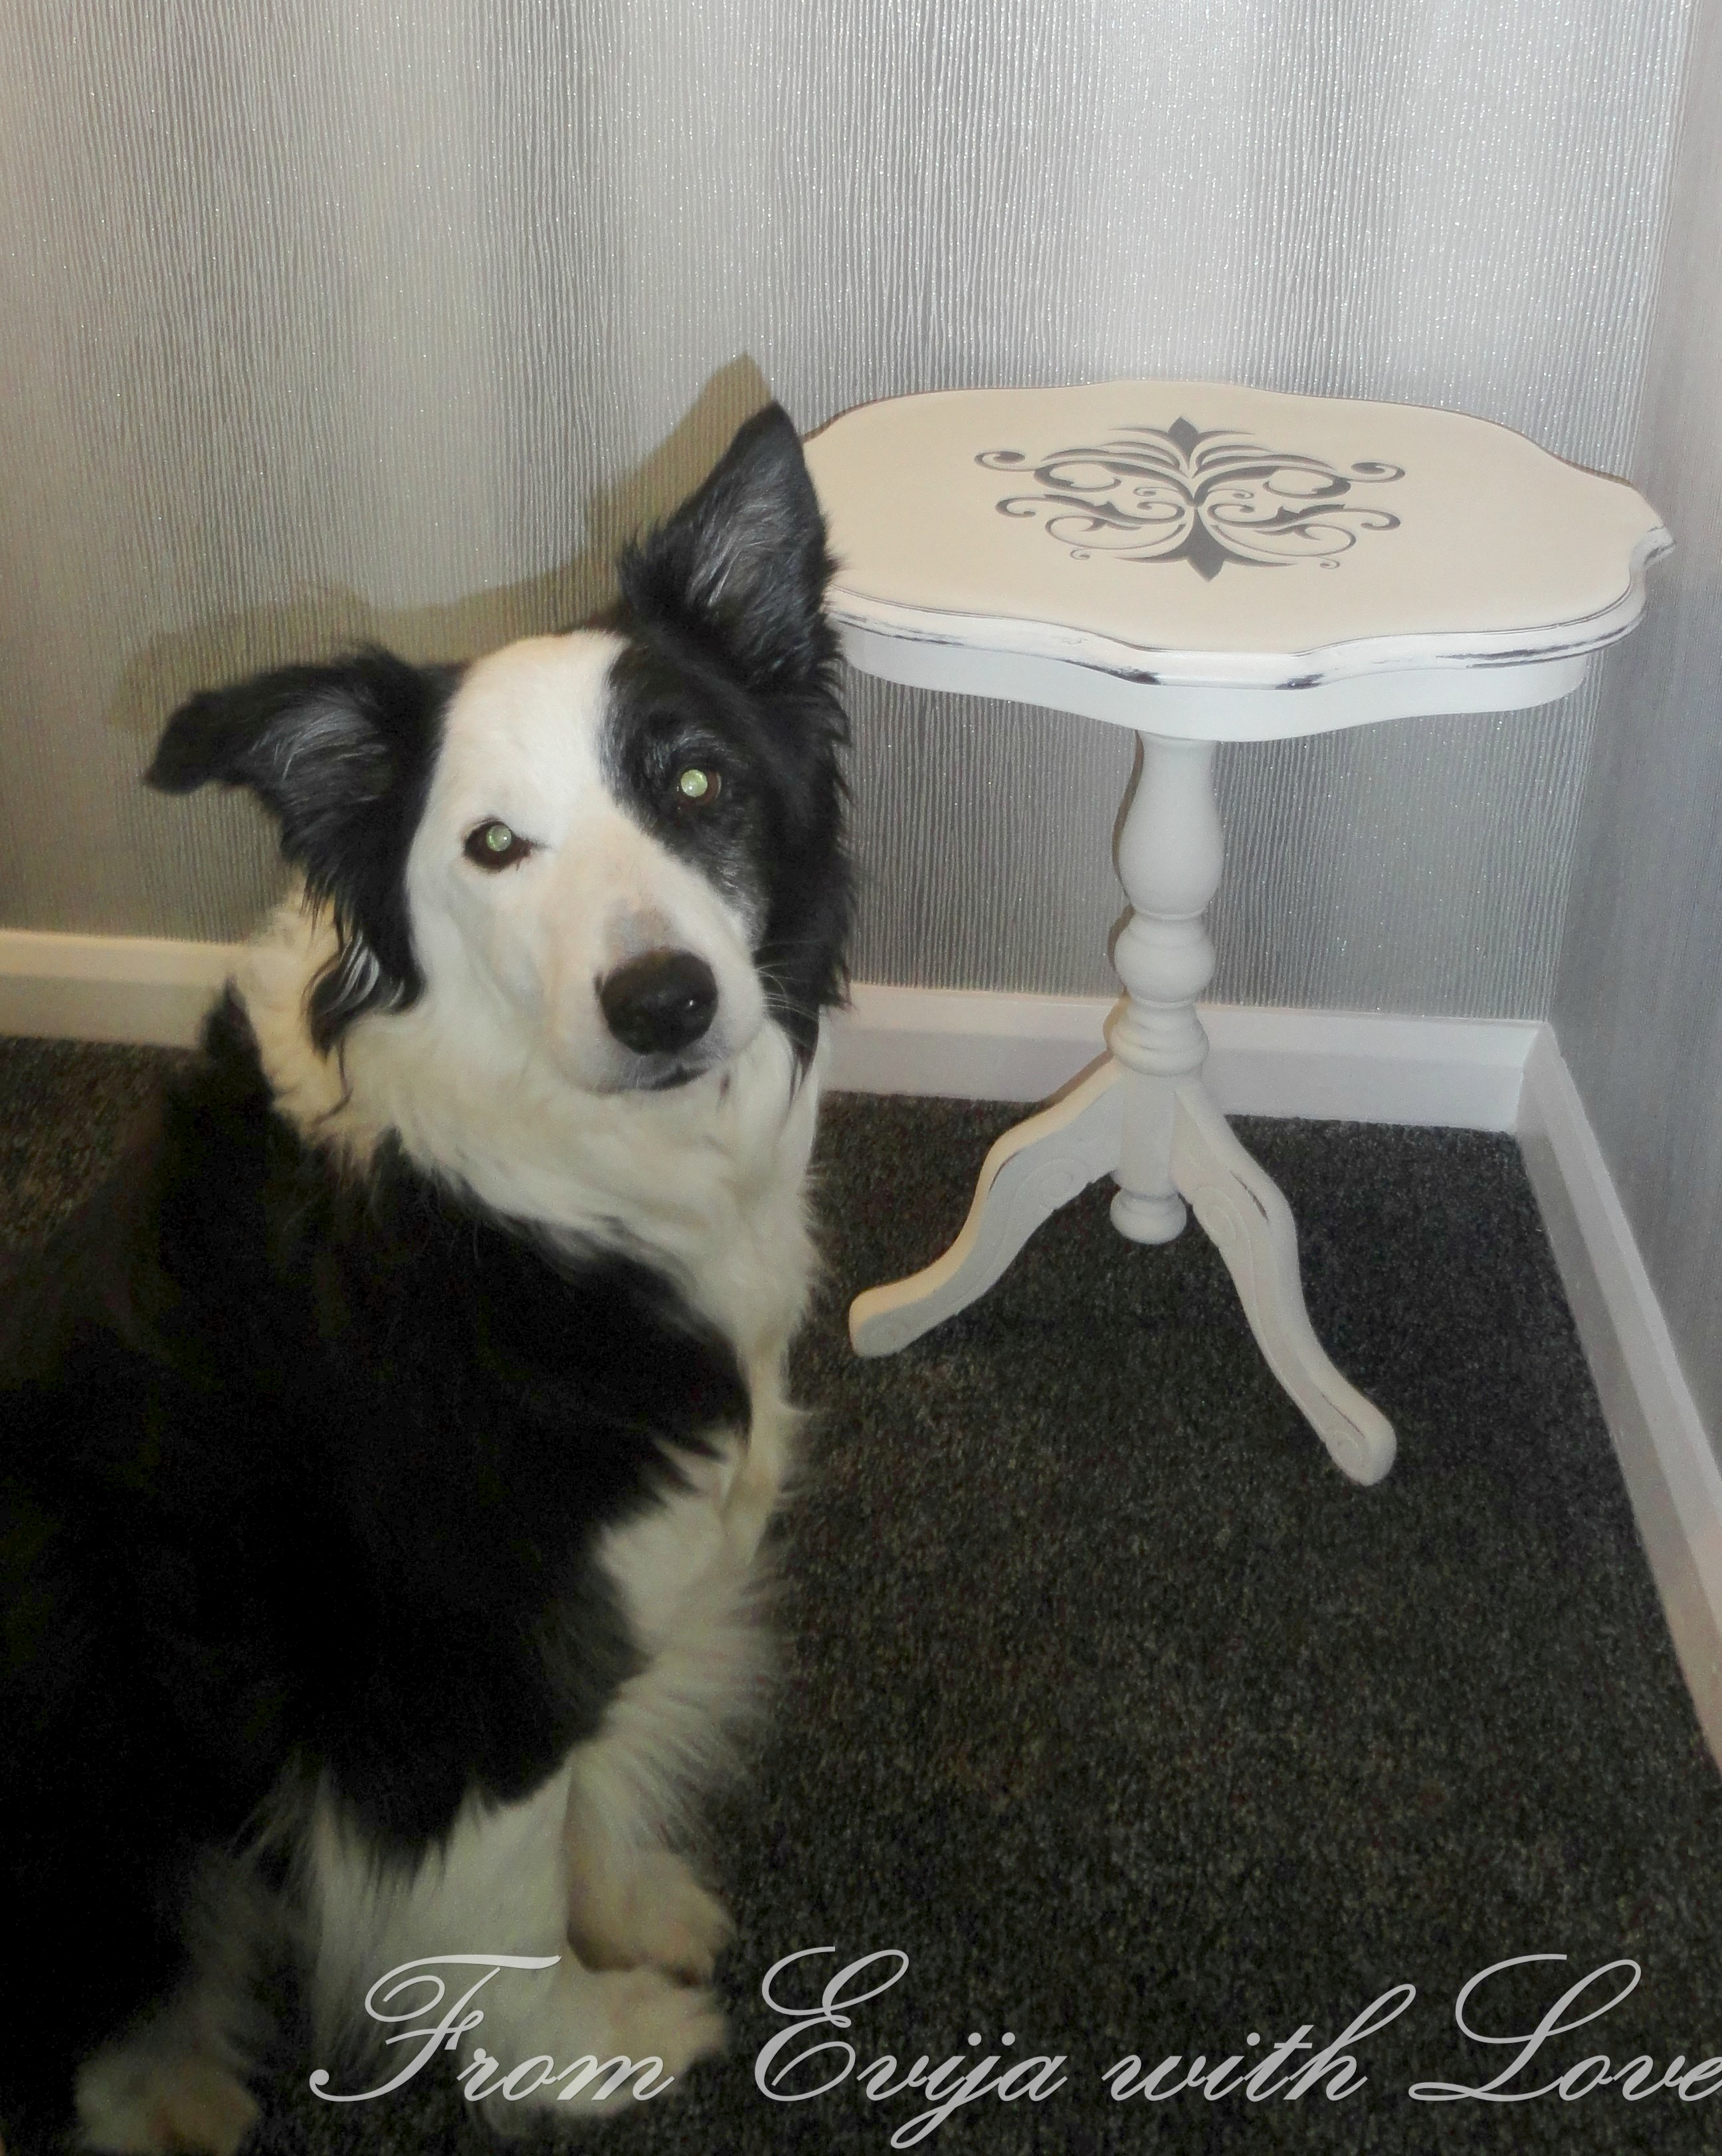
And Bobby photobombing (he loves the flash!)
*free stencil supplied by The Stencil Warehouse
This post may contain affiliate links, which means we may receive a commission if you click a link and purchase something.
Sharing with A little Birdie told me


Brilliant for complete beginners, but maybe the last 5 photos not required, as I found I just sailed through them, because I had already seen the complete item. Good to show errors, as these things will happen and people may panic. Otherwise nice to see close up details.
LikeLiked by 1 person
Thank you Catherine for your comment, very helpful I will take it on board! 🙂 xx
LikeLike
oh my god…the table looks wonderful..love your work! And indeed that stencil pattern is something I truly adore…great job 🙂
LikeLiked by 1 person
Thank you so much, it turned out lovely in the end 🙂
LikeLike
Another awesome redo, Evija! I am enjoying co-hosting OMHG Wordless Wednesday with you girls!
Shellie
http://www.thefabjourney.com
LikeLike
Thank you Shellie, another great week together co-hosting! x
LikeLiked by 1 person
Absolutely beautiful, Evija! I am thinking of using a stencil to paint my daughter’s dresser, and was looking for a tutorial, and yours looks very helpful! Thank you for sharing! It’s a pleasure co-hosting #OhMyHeartsieGirlWW with you!
Christine@CherishingaSweetLife
LikeLiked by 1 person
Thank you Christine, I am glad this post was helpful to you.. I loved using a stencil even though I did run into some trouble (being too eager!!) Enjoy!! xx
LikeLike
Thanks for the great post! That looks really cool and the step by step guidance is really handy!
LikeLike
Your table turned out great! Love the stencil on top.
LikeLiked by 1 person
Thank you Pamela x
LikeLike
It’s been sure a pleasure co-hosting with you this month on the OMHG WW! Great post! Have a wonderful rest of the week!! xx
LikeLiked by 1 person
Thank you Ashleigh xx
LikeLike
Hi Evija, you did a great job, I would have done the same and retired the stencil, looks like a professional job. Patients does get results!!!
Thank you for Co-Hosting with us this week/month I appreciate your collaboration with us.
Hope you have a great week!
Karren
hugs
LikeLiked by 1 person
Thank you Karren, love co-hosting every week with you! x
LikeLike
You did a wonderful job. I actually like both attempts. I love the idea of stenciling but am afraid to try it on walls and furniture. It’ great to co-host with you this week at OMHG WW!
LikeLike
You did such a great job, thanks for sharing it with us. That piece would look beautiful anywhere.
Thanks for co-hosting WW, have a great weekend & see you next week.
LikeLike