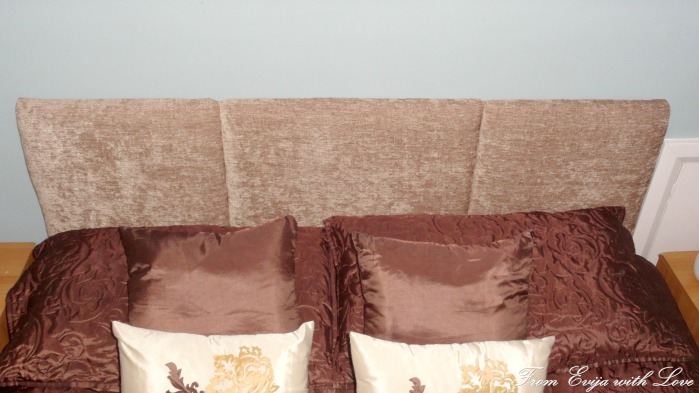
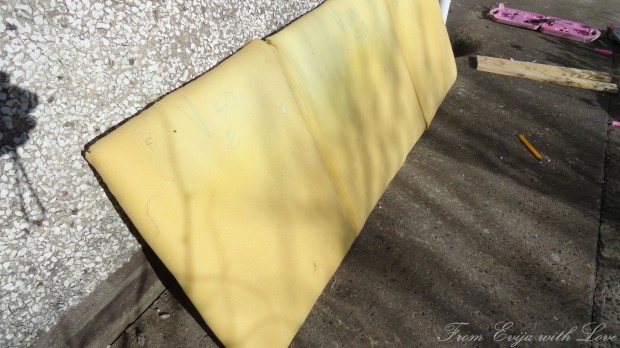
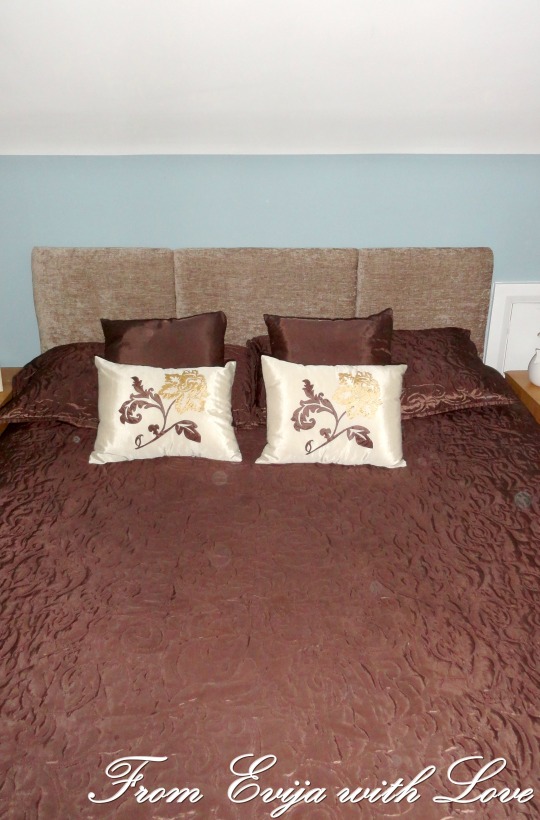
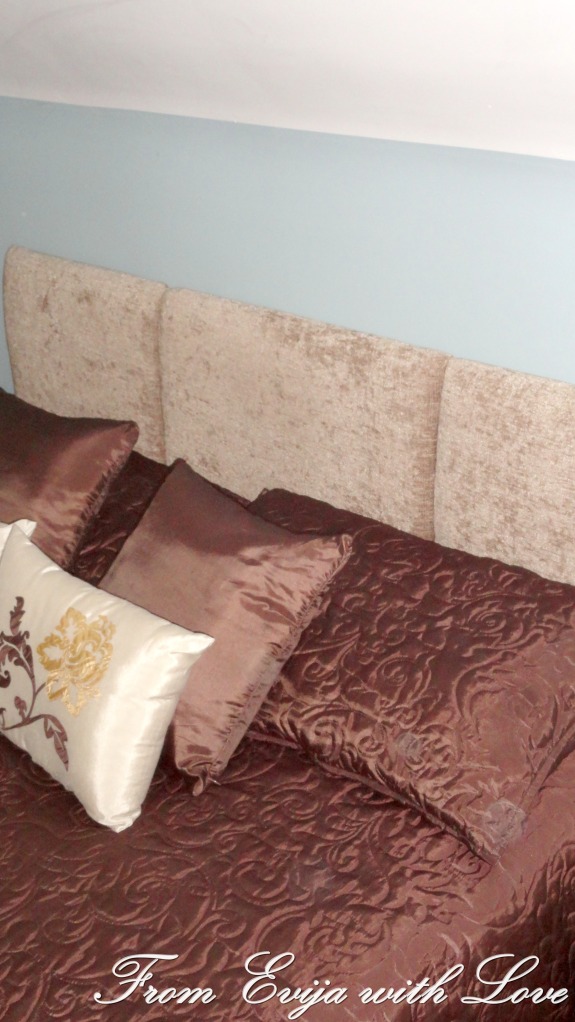
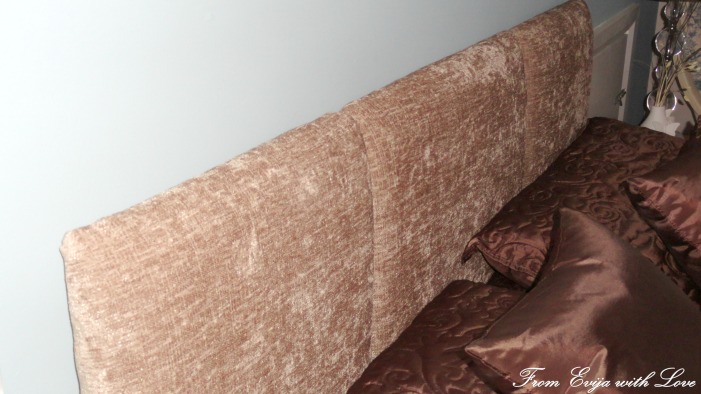
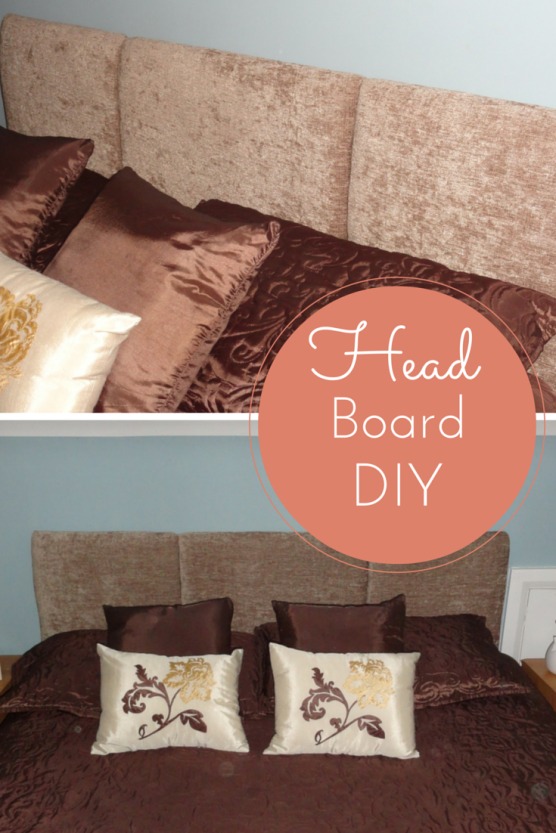
There are so many headboards available you will be spoilt for choice. At the moment we are saving for a house, so I didn’t really want to splash out on something that we will most likely change once we move out. So I decided to upcycle an old headboard I came across a few months ago.
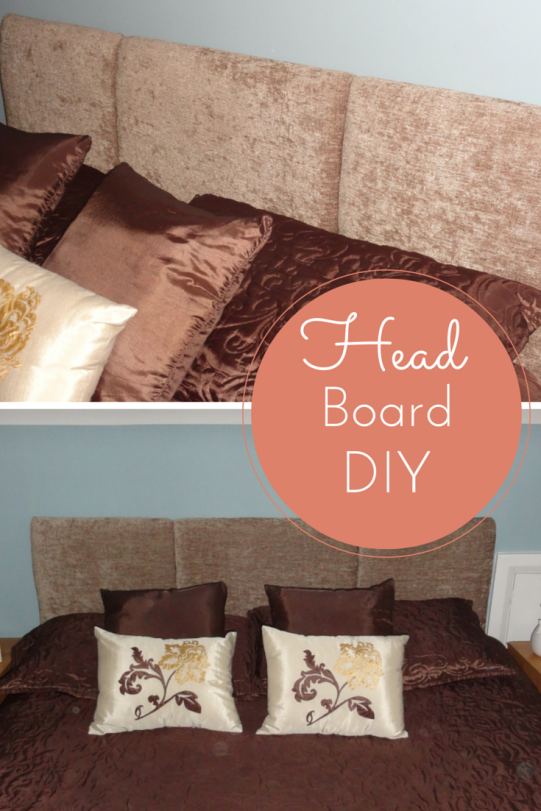
The headboard was still in pretty good shape, a little dated and there were a few scratches and marks on it so I decided to simply re-upholster it.
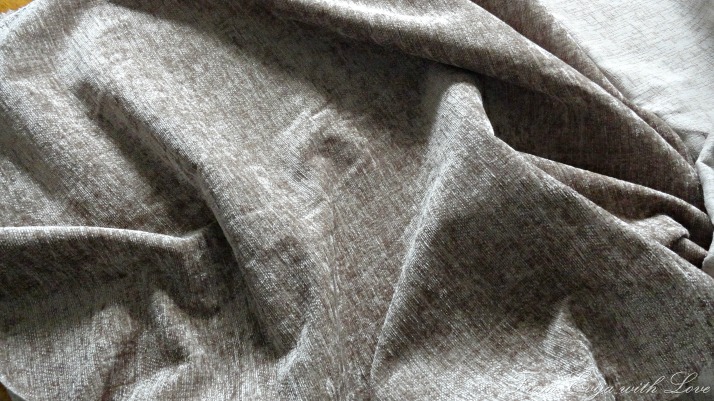
I had read a few posts about doing your own headboard, so I was confident I would be able to do it. I ordered some nice upholstery fabric online and once it arrived – started my project!
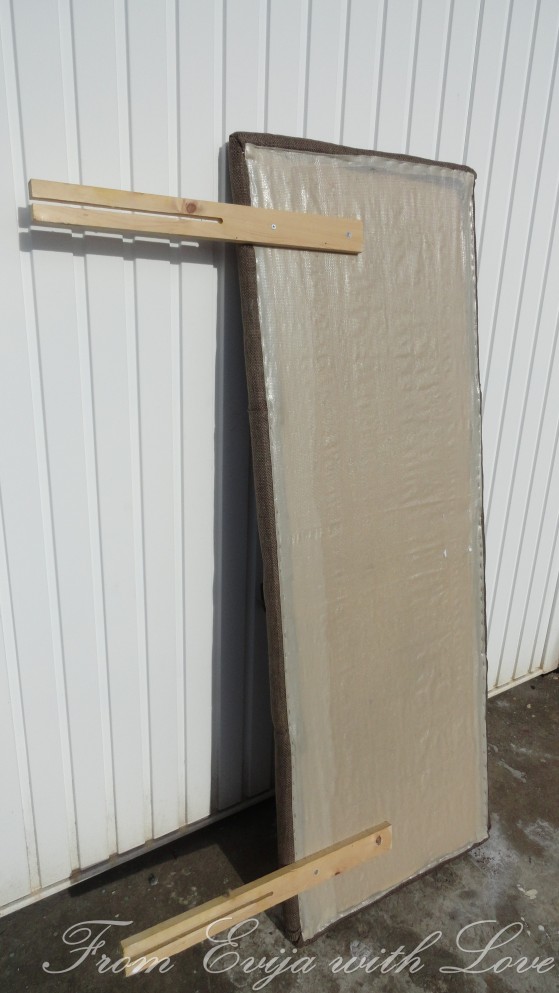
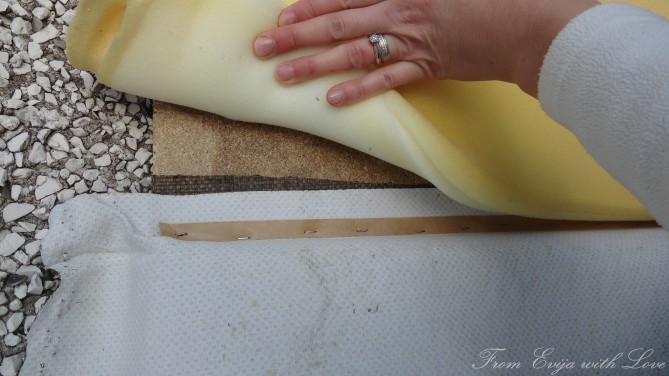
I started by removing the wooden legs from the back of the headboard. I then removed the plastic sheet from the back of the headboard which was my least favourite job of all as it had so many staples that wouldn’t want to come out!
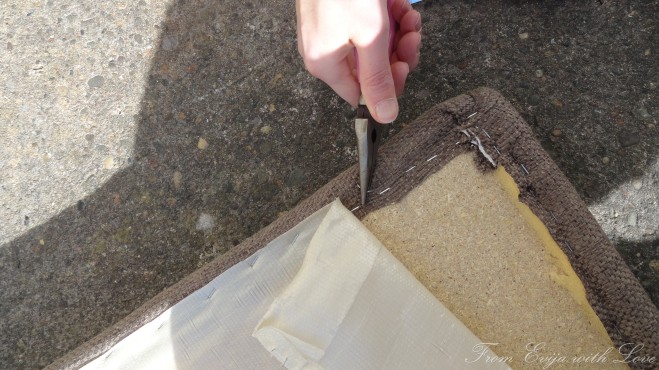
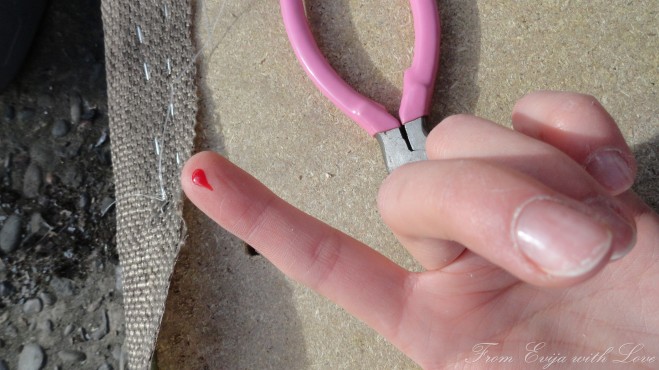
I must remember to take more care when working on this type of project as I did hurt myself several times whilst I was removing the old staples…
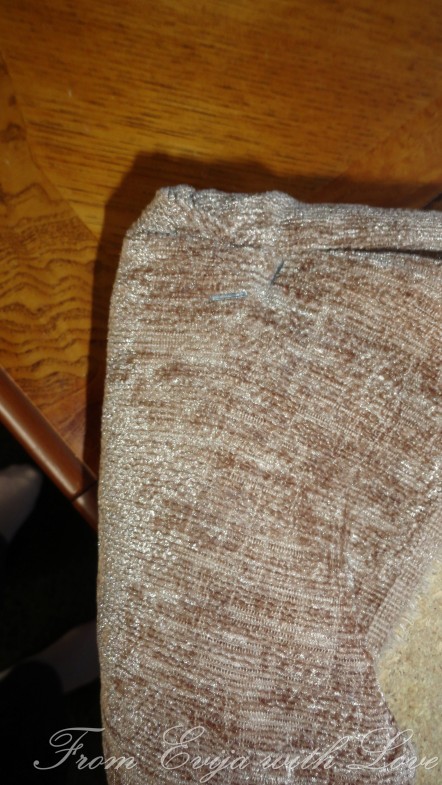
I then removed the old fabric. NOW here, I should have noted the way the fabric was stapled on as it would have saved me some frustration later in the process..
Then the fabric was removed.
I selected my fabric, then measured the pieces I would need using the old fabric as template. As I have don upholstery before, I know that sometimes you have cut out the exact size but it turns out not enough… so I gave myself an extra inch just to allow for any mistakes I may make so that I have extra fabric to work with..
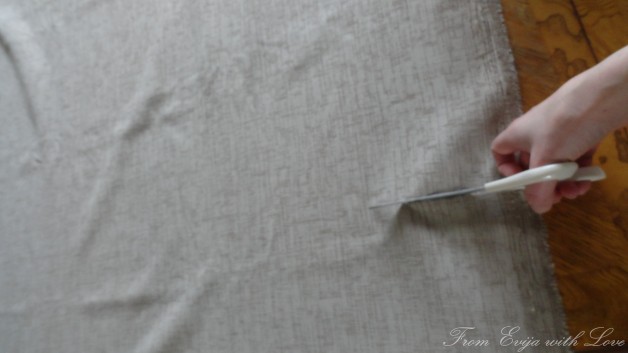
Cut out the pieces.
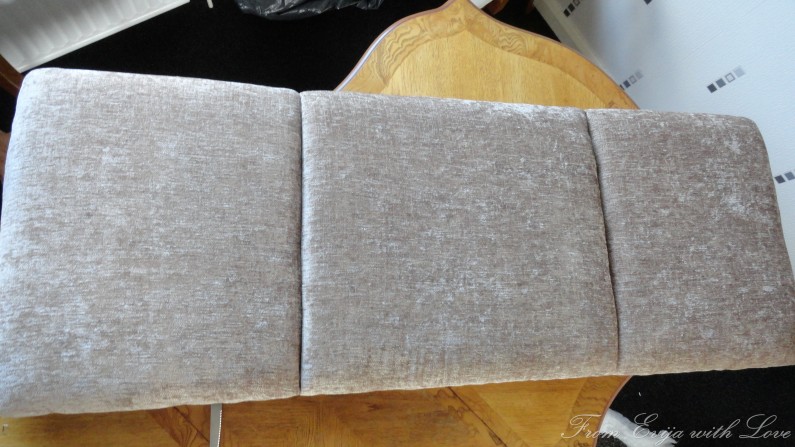
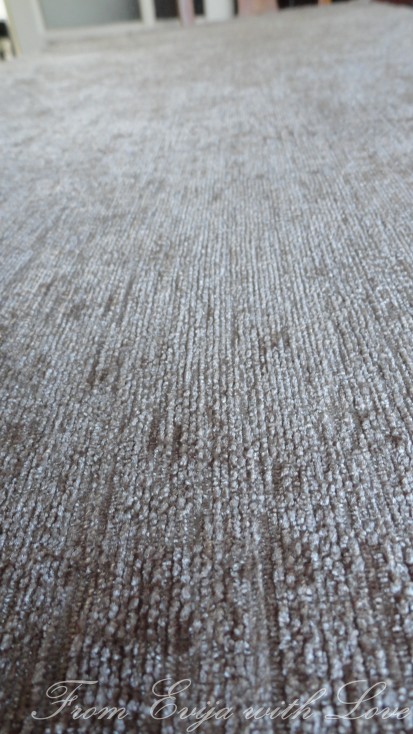
Make sure you know which piece is for which section, as I was going for 3 seperate panels, the middle was slightly larger than the other two. Also note the fabric and make sure pattern follows along.. Even with this fabric you could just tell that the sheen was running backwards if it wasn’t placed correctly.. Thankfully I realised this before I started stapling!! Note to myself – PAY ATTENTION TO DETAIL AND STOP BEING SO BLOODY EAGER!
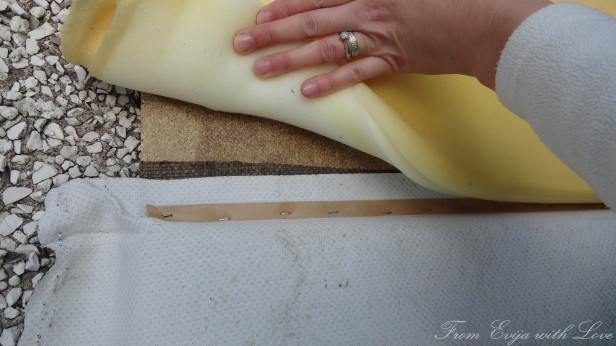
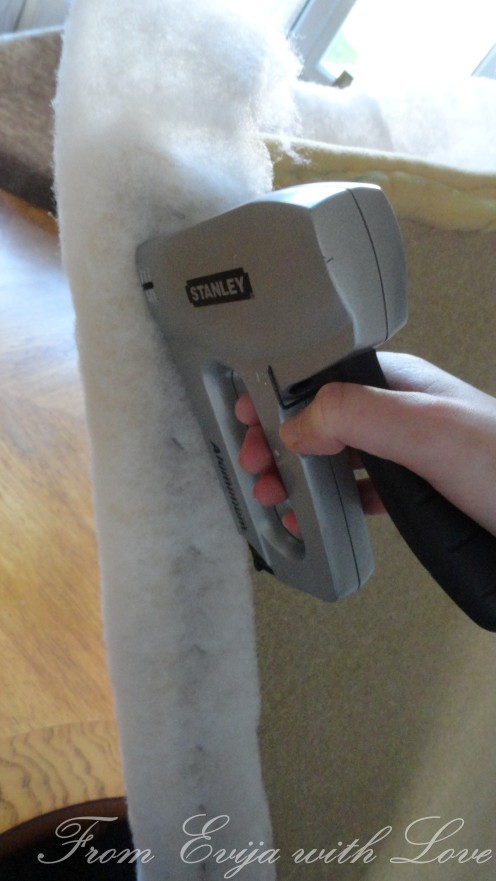
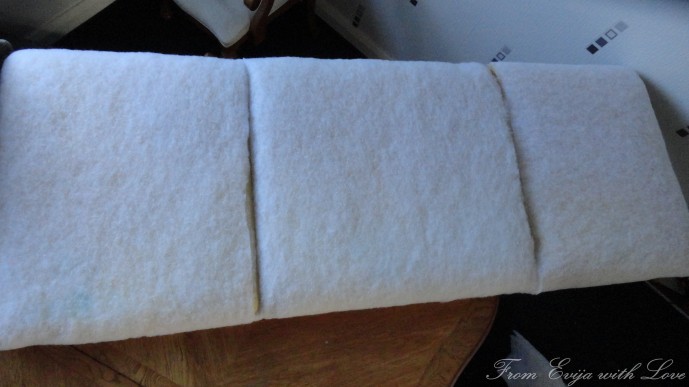
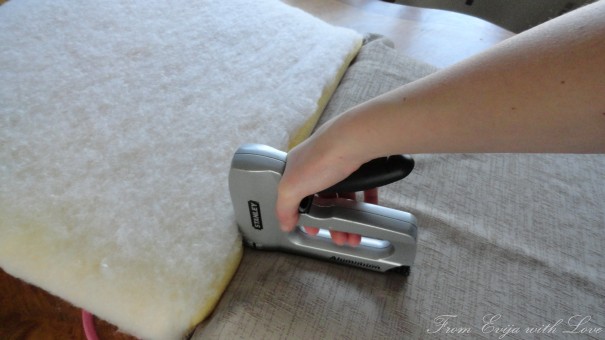
I then used some batting to cover the padding just to give some extra cushioning.Simply wrap it around and staple it in place.
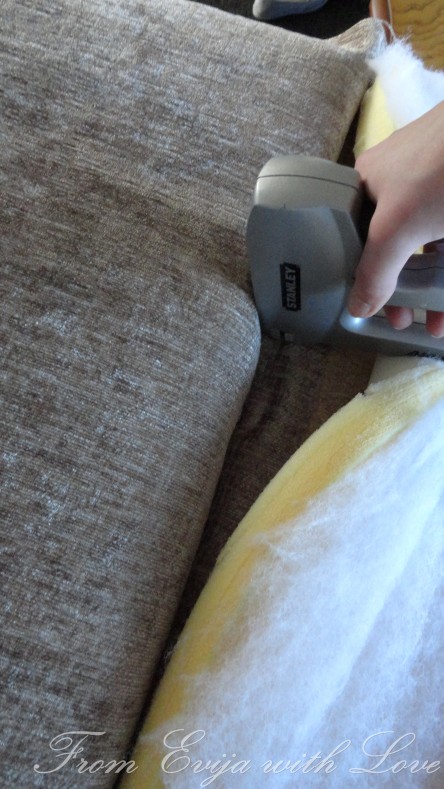
Sometimes the staples were a little temperamental and would not always go in nicely, so I used my hammer to ensure they are nice and tight.
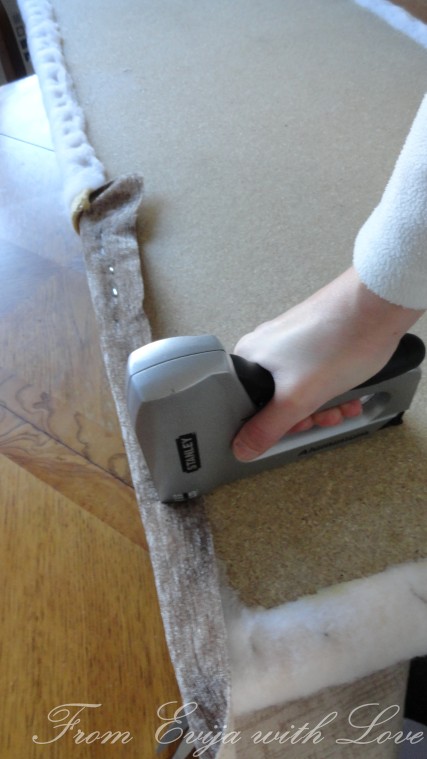
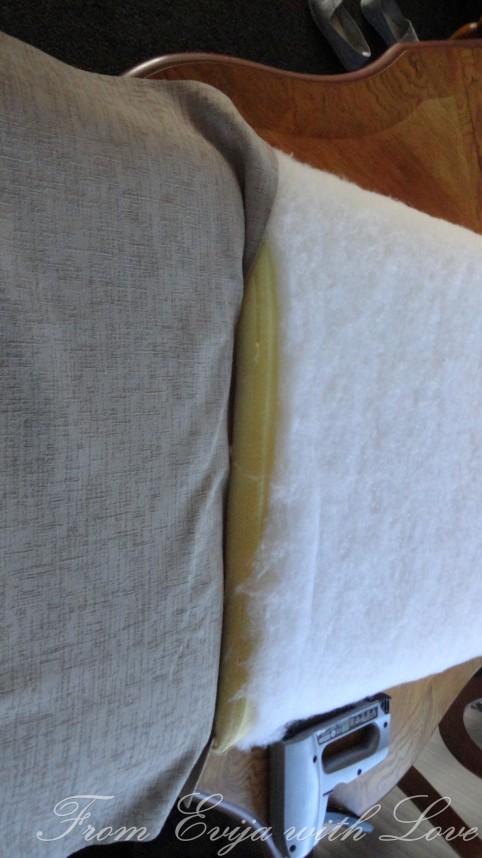
Then the board is ready for the upholstery. Take your first piece and staple it to the board. Make sure it is nice and tight.
When you come to the corners, simply wrap them nicely around and staple as you go along.
This is where I should have thought and taken note when I took the upholstery off..
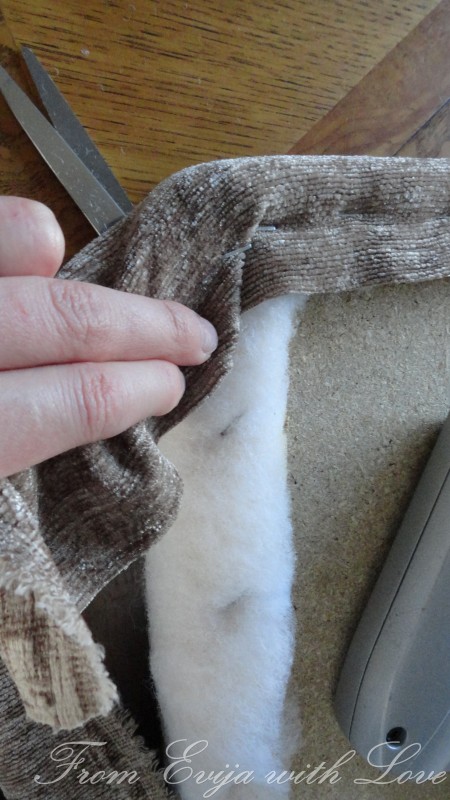
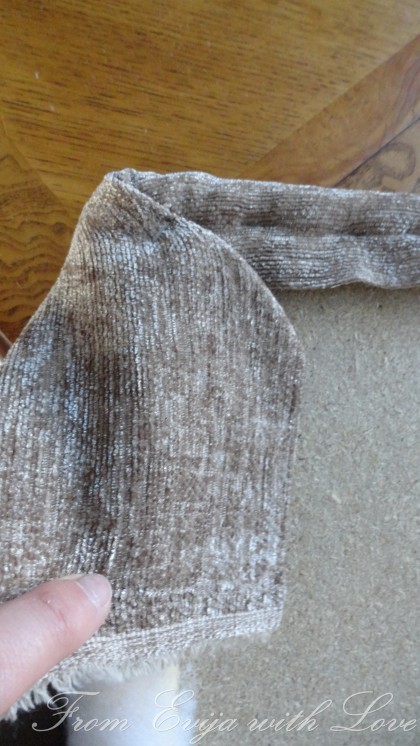
What I did was start with the right hand side panel and I stapled from the outside corner wrapping the fabric around it.. so far so good.. but when I went to staple it to the board between the two panels I realised that the staples may be visible through the gaps.. What I should have done is place the fabric inside out and start from the inside, staple it to the board between the two panels and then wrap it around to the outside… just like when I removed the fabric.
And this is how I did it.. It still looked ok, but I continued doing it the correct way and was hoping the staples wouldn’t be too visible..
One down, two to go!
I continued with the middle panel the right way!! turn the fabric the other way and staple from the inside, then wrap the fabric around.
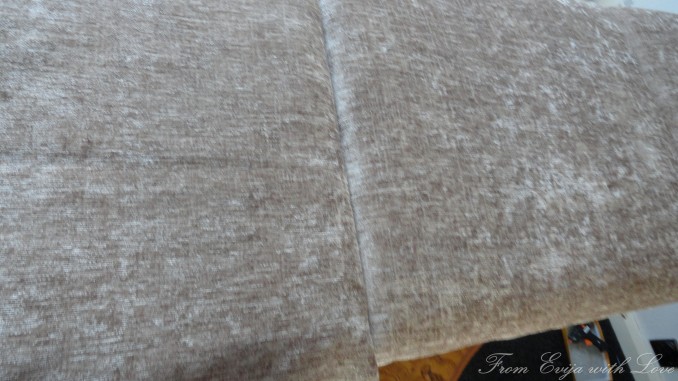 Then do exactly the same with the last panel, and you are [almost] done!
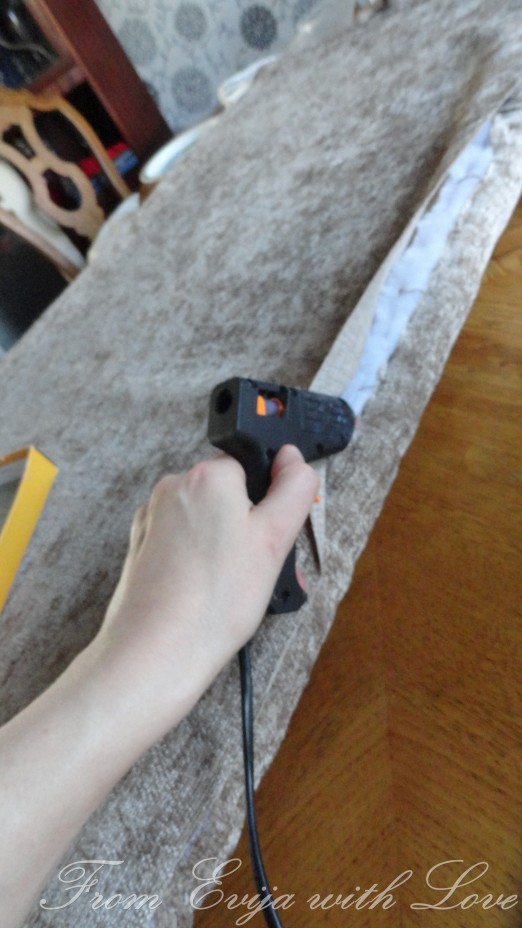
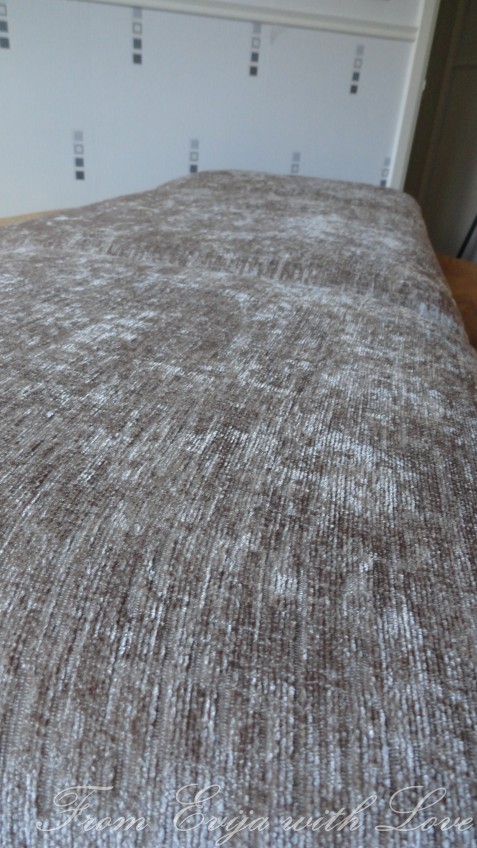 Cut out the fabric and using hot glue gun, glue the fabric on the back of the headboard to cover it up.
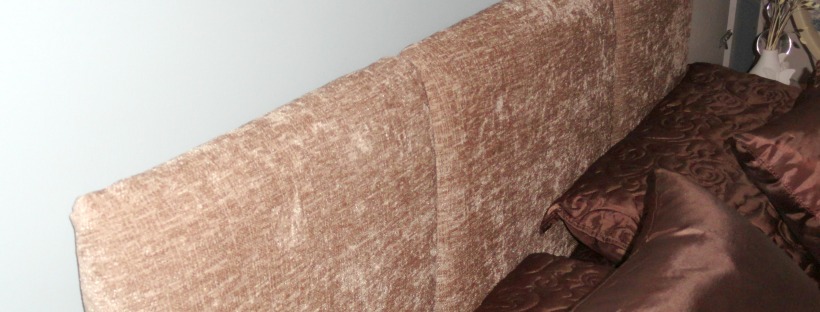
Then all is left to do it to add the legs on and put the head board in its place.
